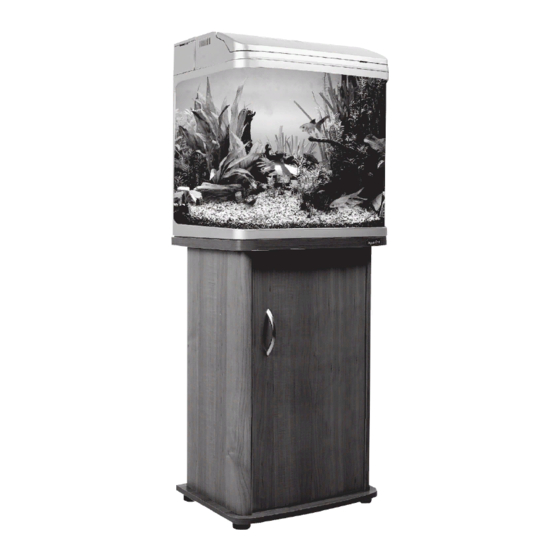
Aqua One AquaStyle 850 Manuale d'uso - Pagina 5
Sfoglia online o scarica il pdf Manuale d'uso per Prodotto per la cura degli animali domestici Aqua One AquaStyle 850. Aqua One AquaStyle 850 13. Aquarium
Anche per Aqua One AquaStyle 850: Manuale di istruzioni (16 pagine), Istruzioni per il montaggio (4 pagine), Manuale di avvio rapido (2 pagine)

Set Up Instructions
1. Remove Filter and Light Unit from the Aquarium
body.
2. Wash your hands and arms. It is very important to
remove dirt, moisturizer and other impurities. Do this
whenever you work on the aquarium.
3. Wash the following DO NOT WASH IN SOAP OR
DETERGENT.
Black Filter Sponge, Ceramic Noodles (Remove
noodles from plastic bag), Carbon Cartridge, Filter
Grid, Spray Bar, Intake Pipe, Strainer, Elbow, Filter
Unit, Glass Tank (Inside).
4. Connect the Intake Pipe and Strainer together.
5. Connect them to the bottom of the Power Head
which is connected to the base of the Filter Unit.
6. Place the filter grids in the bottom of the filter unit
followed by the ceramic noodles. Fig 3
7. Place the black filter sponges on top of the ceramic
noodles. Fig 3
8. Place the carbon cartridges on top of the black filter
sponges with the wool facing upwards. Fig 3
9. Connect the elbow in to the top of the power head.
The longer section of the elbow attaches over the outlet
of the power head. NOTE: This should be a tight fit.
Fig 1
10. Then connect the spray bar to the other end of
the elbow. Make sure the holes of the spray bar are
pointing down onto the carbon cartridges and that the
end of the spray bar has the cap fitted. Fig 1
11. Consider where you are going to place the
aquarium. Keep it away from direct light or areas with
large temperature fluctuations.
12. Place the aquarium on a flat level surface strong
enough to support its weight. We recommend a genuine
Aqua One Aquarium Cabinet (Sold separately) rather
than general household furniture.
13. Wash aquarium gravel. Place a portion of gravel
into a bucket, run water through & churn it over with
your hand until the water running out of the bucket
is clear. It is important to wash the gravel thoroughly.
Repeat this process several times until all the gravel
has been washed.
14. Place washed gravel over the base of the Aquarium.
15. At this stage place plastic plants, decorations and
heater (See Tips) in to the tank.
16. Fill the aquarium with tap water to the level indicated.
17. Use Aqua One quality Water Conditioner (Sold
separately) to remove harmful chemicals chlorine and
heave metals from tap water
18. Place the Filter Unit (Once complete) on top of the
Aquarium body towards the back.
19. Place the Light Unit on the front of the aquarium,
with the power cord passing through the Light Cord
Channel. Fig 3
21. Insure the holes of the spray bar are facing down
and that water is flowing through it.
22. Close the lid on the filter unit.
23. Turn the light switches on, ensure the lights work.
24. Test and adjust pH levels.
25. Allow the aquarium to stand for 5-7 days
before introducing a few hardy fish.
26. Seek advice from your retailer for correct fish
numbers and species compatibility.
TIPS
An Aqua One heater and Thermometer is required
if you are setting up a tropical or saltwater aquarium.
Refer to heater instructions for correct set up and
positioning.
Chlorine and other heavy metals will harm your
fish. Aqua One water conditioner will remove these
impurities and create a safe environment for your fish.
These products are available separately from your
local Aqua One retailer.
Note: This is only a guide! You should seek professional
advice from your aquarium specialist at the time of
5
