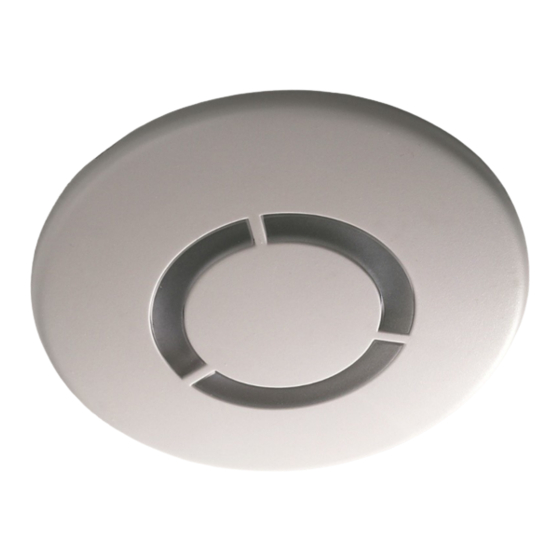
CP Electronics MWS6-PRM-L3 Manuale del prodotto - Pagina 4
Sfoglia online o scarica il pdf Manuale del prodotto per Sensori di sicurezza CP Electronics MWS6-PRM-L3. CP Electronics MWS6-PRM-L3 8. Ceiling microwave detector with 3m pre-wired lead

Installation
The MWS6-PRM-L3 is designed to be mounted using either:
•
Flush fixing, or
•
Surface fixing, using the optional Surface Mounting Box (part no. DBB).
Both methods are illustrated below.
Flush Fixing
Warning - be careful
bending springs when
mounting unit.
Surface Fixing
Readback function
The UNLCDHS has the ability to read back the settings stored in a device.
To read back individual parameters
•
Navigate to the parameter and press the 'R' (Read) button whilst pointing at the device. The handset will click
when the parameter has been read back, the device will flash its LED, and the value will be shown against the
parameter in the menu.
To read back all of the parameters in a menu
•
Press and hold the 'R' (Read) button for more than 1 second.
•
The handset will click every time a parameter is received
•
The device will show multiple flashes of its LED
•
All of the values will be shown against the parameters in the menu.
•
The individual parameters may be edited and then saved as a 'Macro'.
Notes
•
If a parameter(s) has been missed because of a communication error, the missing value(s) is replaced by dashes.
•
When reading back, the relay will temporarily be switched off, and will return to it's normal state 2 seconds after
the read back has been completed.
4
1
2
Hole Ø64mm
If the range is compromised by
the ceiling construction /
material. Add the supplied
20mm spacer ring.
1
2
50mm or 60mm fixing centres
(UNLCDHS handset only)
3
3
Pull out spring tab and rotate
spring arm as shown
4
4
Remove wiring
compartment cover
