Avonic CD500 Manuale d'uso - Pagina 14
Sfoglia online o scarica il pdf Manuale d'uso per Convertitore multimediale Avonic CD500. Avonic CD500 19.
Anche per Avonic CD500: Manuale d'uso (20 pagine), Manuale rapido (2 pagine), Manuale rapido (2 pagine)

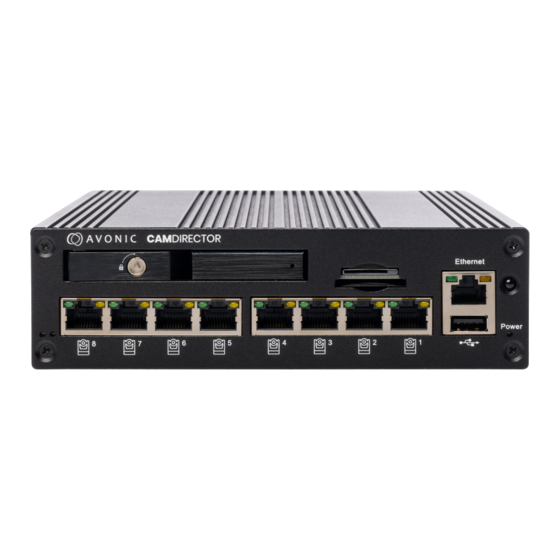
Connecting the components to the CD500
Execute the following steps to connect the components to the CD500:
1. Connect all provided components (see
2. Connect a HDMI cable to the HMDI port of the CD500 to see its video output.
3. Connect a Ethernet (CAT6a) cable to the ethernet port at the front of the CD500.
4. Connect the supplied power cable and adapter to the PSU port at the back of the CD500. After connecting
the power cable and adapter the CD500 will start automatically. The power light next to the Ethernet port will
turn ON. See the pictures below:
Download User Manuals
You can also download the
additional steps necessary to configure the CamDirector
Compatible hardware list
The following hardware is compatible with the CD500:
Audio Interfaces
•
Focusrite Scarlett 2i2 3rd Gen
•
Focusrite Scarlett 4i4 3rd Gen
•
Behringer U-Phoria UMC204HD
Package
Contents) to the ports at the back of the CD500
manuals
for the activated software modules and follow those instructions for the
Cameras
•
AV-CM70-IP
•
AV-CM70-NDI
•
AV-CM71-IP
•
AV-CM73-IP
1. RCA port (Audio Line IN)
2. RCA port (Audio Line OUT)
3. USB3.0 port
4. HDMI 2.0 a/b port
5. RS232 port (for future use)
6. RS485 port (for future use)
7. GPIO Harting, har-flexicon port
8. PSU port (to connect the provided power adapter)
system further.
®
14
