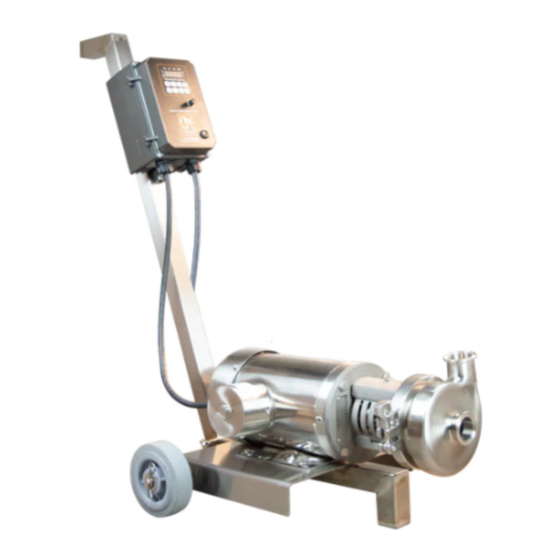
CPE C Series Manuale di istruzioni - Pagina 10
Sfoglia online o scarica il pdf Manuale di istruzioni per Pompa dell'acqua CPE C Series. CPE C Series 18. Portable pump
Anche per CPE C Series: Manuale (19 pagine)

MAINTENANCE
MAINTENANCE
REPAIR
It is recommended that periodic inspection of all parts of the pump be made to prevent mal-
functions caused by worn or broken parts. Disassembly for repair is the same procedure as for
cleaning.
Note: Protect the sealing surface of the backplate against nicks and scratches while removing, cleaning
and reassembling.
1. For D and F seals, examine the backplate sealing surface carefully for any defects that will shorten seal life.
2. Remove the carbon seal, o-ring seal, cup and spring. If your pump is equiped with a drive collar, remove it by
loosening set screws and sliding colar off the stub shaft.
3. The balanced seal is designed for outside application. Sealing of the process fluid along the shaft is accomplished
by action of the process pressure on an o-ring seal installed in a groove in the carbon seal. The same action pressur-
izes the o-ring groove and augments the spring tension in keeping a tight joint at the sealling faces. The location of
width of the sealing face controls the balancing of the seal.
4. Carefully inspect the o-ring seal and carbon seal for signs of abrasions, cuts or other wear that would cause
leakage. When the extension of the carbon seal face extends less than 1/32" from the body, it is advisable that the
carbon seal be replaced.
5. Remove the cascading water attachement if included. Remove the rubber shaft deflector by prying it gently from
the rear, while sliding it forward. Examine the deflector for tearing, loose fit, or other defects that would allow fluid
leakage into the motor along the armature shaft.
6. Remove the bolts securing the adapter to the motor frame and remove the adapter. Loosen the 4 set screws se-
curing the stub shaft to the motor armature. Remove the stub shaft by prying from the back with a flat bar. The stub
shaft is a tight fit but can be removed by evenly applying pressure around the periphery of the shaft with pry bar.
7. Examine the stub shaft sealing surface for nicks or scratches which can cause excessive o-ring seal wear or leak-
ing.
8. Attach a hoist to the motor if necessary, and remove the bolts securing the motor to the pump cart.
9. Inspect casing clamp for damage or wear and replace as required. Inspect the cart wheels, adapter and casing and
replace if necessary. The electric motor contains no feild servicable components therefore this manual does not
cover the maintenance, repair and wiring of the electric motor. For specific information contact CPE Systems.
Page 8
cpesystems.com
1-800-668-2268
