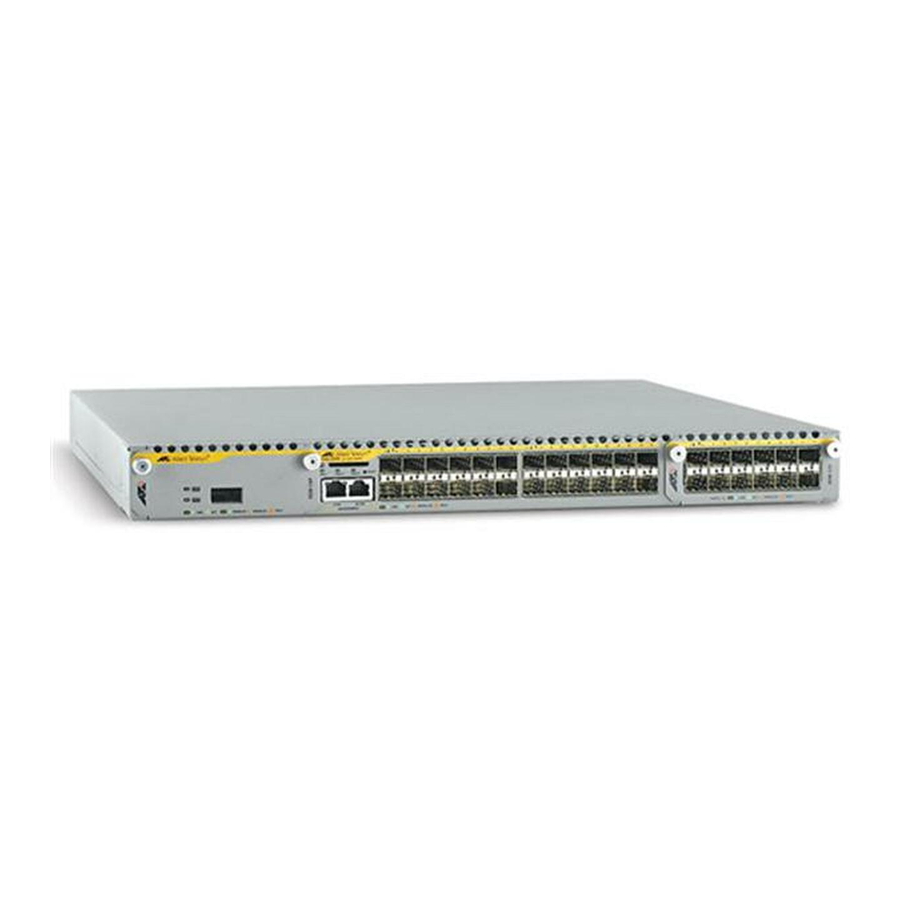
Allied Telesis x900 Series Manuale di installazione - Pagina 6
Sfoglia online o scarica il pdf Manuale di installazione per Interruttore Allied Telesis x900 Series. Allied Telesis x900 Series 13. Removable power supply and fan
Anche per Allied Telesis x900 Series: Come configurare (9 pagine)

Removable Power Supply and Fan
Installing a power supply unit or fan-only module
Before you begin:
■
Read the safety information for the switch.
Safety information is available in the Installation and Safety Guide that is on
the CD-ROM for the switch. Or you can download this document from
www.alliedtelesis.com/support/software.
■
Gather necessary tools and equipment.
You may need a Phillips #2 screwdriver to adjust the retaining screws on a
PSU or FOM.
To install a DC version of the PSU, you need an appropriate DC power
source, DC supply cable, ring connectors, and a crimp tool.
■
Verify the package contents if you have not already done so.
See
reseller if items are damaged or missing.
1.
Unpack the power supply unit.
Caution Follow correct anti-static procedures when installing either a PSU
or FOM. Failure to do so could damage the PSU, FOM, or switch. If you are
unsure about correct procedures, contact your authorised distributor or
reseller.
While observing Electro Static Discharge (ESD) precautions, remove the
PSU or FOM from its packing material in an anti-static environment.
2.
Disconnect the power supply from the power supply unit.
Warning Disconnect the power cord before removing the PSU.
For AC models, turn off the main power supply to the PSU and disconnect
the power cord.
For DC models, push the Run/Standby control and release it to the Off
position using a small diameter pin. When the Run/Standby control is not
depressed, it is off. Disconnect the supply cable wires from the circuit
breaker.
3.
For AC models only, install the power cord retaining clip.
There is one retaining clip for the AC power inlet on the PSU.
6
"Package Contents" on page
4. Contact your authorised distributor or
