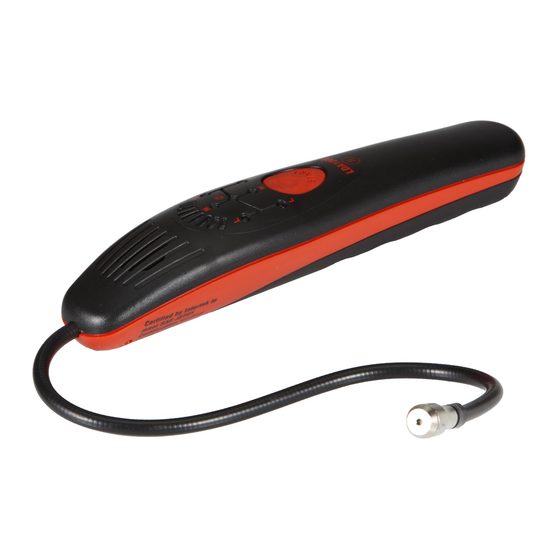
CPS Pro-Set LDA1000H Manuale operativo - Pagina 6
Sfoglia online o scarica il pdf Manuale operativo per Strumenti di misura CPS Pro-Set LDA1000H. CPS Pro-Set LDA1000H 14. Refrigerant leak detector
Anche per CPS Pro-Set LDA1000H: Manuale operativo (12 pagine), Manuale operativo (12 pagine)

OPERATION
Windy conditions:
Locating leaks under windy conditions may severely impede
the leak searching process. Even very large leaks may be dif-
ficult to locate as the escaping gas is quickly dissipated into the
atmosphere. If necessary, fabricate a gas trap using aluminum
foil around joints or fittings or otherwise shield the search area
from the wind.
Leak verification:
If a suspected leak is indicated, verify several times by moving
the sensor away from the leak area, resetting the unit and then
back to the suspected leak. If the instrument indicates a leak three
consecutive times, then you have found a leak.
The LDA1000H features automatic tuning out of background
contamination and needs only to be turned on to begin leak
searching. All necessary sensitivity and calibration settings are
selected by the unit's advanced control software providing optimal
leak finding performance at any setting.
It is recommended to follow the guidelines stated in SAE J1628
latest release. The basic steps are outlined below. Always leak
test with the engine OFF.
1. With the system OFF, pressurize it by charging with enough
refrigerant to attain a pressure of at least 350 KPa (50 PSIG).
2. Take care not to plug the sensor housing cap by dragging it
over dirty or wet surfaces. If the area is particularly dirty, or
condensate (moisture) is present, it should be wiped off with
a dry shop towel. Consult the list of substances to which the
LDA1000H may react on pages 8 & 9. If any of these substances is
present, clean with a dry cloth.
3. Visually trace the entire refrigerant system and look for signs
of air conditioning lubricant leakage, damage, and corrosion
on all lines, hoses, and components. Each questionable area
should be carefully checked with the detector: controls,
service ports with caps in place, brazed or welded areas, and
areas around attachment points and hold-down on lines and
components. If looking for an apparently larger leak, check
first at 7 g / yr or 14 g / yr settings.
4. Turn on the LDA1000H and allow it to warm up outside the area
to be searched. Based on an estimate of the system's leak rate,
set the LDA1000H to the appropriate refrigerant and sensitivity
setting. The LDA1000H provides sensitivity settings of 14 g / yr
(0.5 oz / yr), 7 g / yr (0.25 oz / yr) and 4 g / yr (0.15 oz / yr)
corresponding to the L, M and S marked LED's. If the detector
alarms when the area to be searched is approached, ventilate
the area to eliminate any accumulation of regrigerant which
may obscure the smaller leaks.
Searching For Leaks
6
