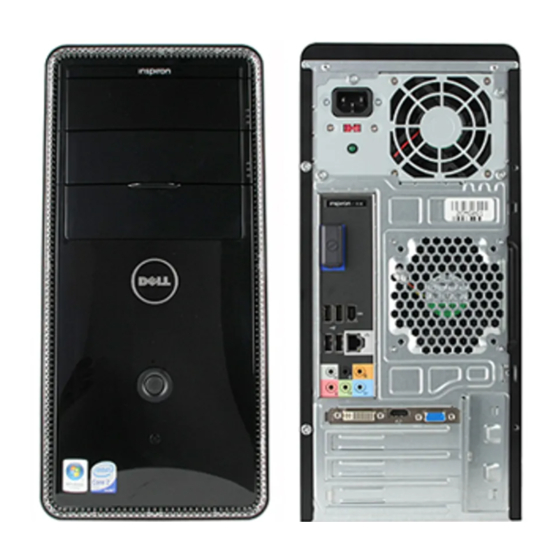
Dell Inspiron 518 Manuale di servizio - Pagina 25
Sfoglia online o scarica il pdf Manuale di servizio per Computer portatile Dell Inspiron 518. Dell Inspiron 518 38.
Anche per Dell Inspiron 518: Manuale di servizio (38 pagine)

Back to Contents Page
Replacing the Power Supply
Dell™ Inspiron™ 518/519 Service Manual
CAUTION:
Before working inside your computer, read the safety information that shipped with your computer. For additional safety best
practices information, see the Regulatory Compliance Homepage at www.dell.com/regulatory_compliance.
CAUTION:
To guard against likelihood of electric shock, laceration by moving fan blades or other unexpected injuries, always unplug your
computer from the electrical outlet before removing the cover.
1. Follow the procedures in
Before You
2. Remove the computer cover (see
NOTICE:
Note the location and ID of each power connector before disconnecting the power supply cables.
3. Follow the DC power cables that stem from the power supply and disconnect each connected power cable.
NOTE:
Note the routing of the DC power cables underneath the tabs in the computer chassis as you remove them from the system board and
drives. You must route these cables properly when you replace them to prevent them from being pinched or crimped.
4. Remove the four screws that attach the power supply to the back of the computer chassis.
1 power supply 2 screws (4)
5. Slide out the power supply and lift it out.
6. Slide the replacement power supply towards the back of the computer.
CAUTION:
Failure to replace and tighten all screws may cause electrical shock as these screws are a key part of the system grounding.
7. Replace and tighten all screws that secure the power supply to the back of the computer chassis.
NOTICE:
Route the DC power cables under the chassis tabs. The cables must be properly routed to prevent the cables from being damaged.
8. Reconnect the DC power cables to the system board and drives.
NOTE:
Double-check all cable connections to make sure they are secure.
9. Replace the computer cover (see
10. Connect your computer and devices to an electrical outlet, and turn them on.
Begin.
Removing the Computer
Cover).
Replacing the Computer
Cover).
