Dell Inspiron 600m Manuale di servizio - Pagina 20

Sfoglia online o scarica il pdf Manuale di servizio per Computer portatile Dell Inspiron 600m. Dell Inspiron 600m 40. Hard drive
Anche per Dell Inspiron 600m: Inizia qui (2 pagine), Inizia qui (2 pagine), Inizia qui (2 pagine), Manuale introduttivo (2 pagine), Manuale d'uso (34 pagine), Manuale di configurazione (2 pagine), Come iniziare (2 pagine), Manuale di configurazione (2 pagine), Manuale di configurazione (2 pagine), Manuale di configurazione (2 pagine), Manuale di configurazione (2 pagine), Manuale di configurazione (2 pagine), Manuale di configurazione (2 pagine), Manuale di configurazione (2 pagine), Manuale di servizio (41 pagine), Manuale d'uso della Media Base (26 pagine), Manuale di servizio (41 pagine), Installazione e configurazione (38 pagine), Avvio rapido (2 pagine), Avvio rapido (2 pagine), Avvio rapido (2 pagine), Impostazione del computer (2 pagine), Manuale di servizio (41 pagine), Manuale di servizio (4 pagine)
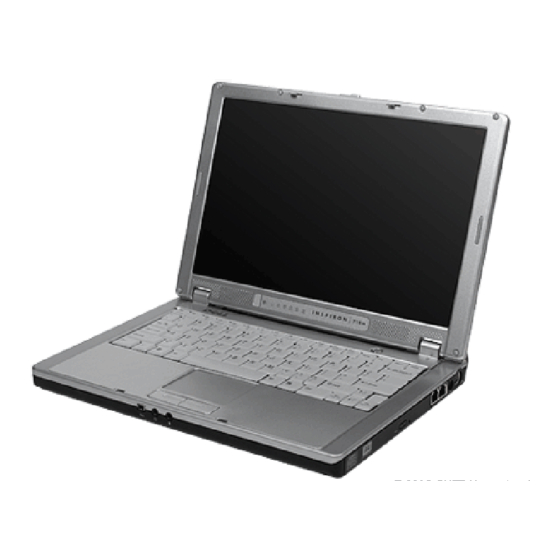
Dell Inspiron 600m Manuale di servizio
Back to Contents Page
  Optical Bay Latch
Dell™ Inspiron™ 700m Service Manual 
  Removing the Optical Bay Latch
  Replacing the Optical Bay Latch
 Removing the Optical Bay Latch
 
CAUTION:
Before you begin any of the procedures in this section, follow the safety instructions in the Product Information Guide.
NOTICE:
Disconnect the computer and any attached devices from electrical outlets.
NOTICE:
To avoid ESD, ground yourself by using a wrist grounding strap or by touching an unpainted metal surface on the computer.
NOTICE:
Read
"Before Working Inside Your
 
1. Remove the battery.
 
2. Remove the
memory
module.
 
3. Remove the
Mini PCI
card, if present.
 
4. Remove the
modem
card, if present.
 
5. Remove the
hard
drive.
 
6. Remove the keyboard.
 
7. Remove the
display
module.
 
8. Remove the
palm
rest.
 
9. Remove the
system
board.
 
10. On the inside of the bottom case, use your fingers to unhook the latch from the bottom case and the snap tabs, catching the optical release button on
the outside of the bottom case.
1 optical lock latch
2 spring
3 bottom case
4 optical-latch release
button
 
Computer" before performing the following procedure.