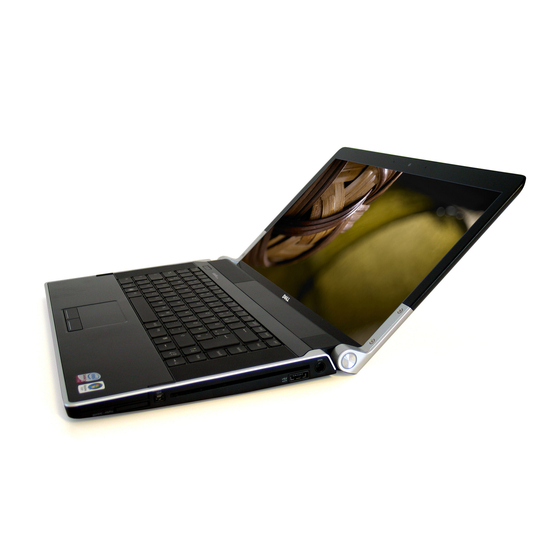
Dell Studio XPS PP35L Manuale di configurazione - Pagina 16
Sfoglia online o scarica il pdf Manuale di configurazione per Computer portatile Dell Studio XPS PP35L. Dell Studio XPS PP35L 31.

Using Support Tools
drive is installed properly and partitioned as
a boot device
•
Enter system setup and ensure that the boot
sequence information is correct (see the
Service Manual on the Dell Support website
at support�dell�com)
No timer tick interrupt — A chip on the system
board might be malfunctioning or motherboard
failure (see the Service Manual on the Dell
Support website at support�dell�com)
USB over current error — Disconnect the USB
device Your USB device needs more power for
it to function properly Use an external power
source to connect the USB device, or if your
device has two USB cables, connect both of
them
NOTICE - Hard Drive SELF MONITORING
SYSTEM has reported that a parameter has
exceeded its normal operating range� Dell
recommends that you back up your data
regularly� A parameter out of range may or may
not indicate a potential hard drive problem —
28
SMART error, possible hard disk drive failure
This feature can be enabled or disabled in the
BIOS setup (see "Contacting Dell" on page 40
for assistance)
Hardware Troubleshooter
If a device is either not detected during
the operating system setup or is detected
but incorrectly configured, you can use the
Hardware Troubleshooter to resolve the
incompatibility
To start the Hardware Troubleshooter:
Click
→ Help and Support
1�
Start
hardware troubleshooter in
2�
Type
the search field and press <Enter> to start
the search
In the search results, select the option that
3�
best describes the problem and follow the
remaining troubleshooting steps
Dell Diagnostics
If you experience a problem with your
computer, perform the checks in "Lockups and
Software Problems" on page 24 and run the
Dell Diagnostics before you contact Dell for
technical assistance
It is recommended that you print these
procedures before you begin
NOTICE: Dell Diagnostics works only on
Dell computers
Starting Dell Diagnostics
The Dell Diagnostics is located on a hidden
diagnostic utility partition on your hard drive
1�
Ensure that the computer is connected to an
electrical outlet that is known to be working
properly
2�
Hold down the <Fn> key while pressing the
power button to turn on the system
3�
Follow the on-screen instructions
NOTE: If your computer cannot display a
Using Support Tools
screen image, running the diagnostics will
start testing the display The diagnostics
will beep while testing the display If the
display still does not show anything, try
connecting an external monitor or contact
Dell, see "Contacting Dell" on page 40
29
