Chris King Classic Manuale - Pagina 9
Sfoglia online o scarica il pdf Manuale per Accessori per biciclette Chris King Classic. Chris King Classic 20. Hub
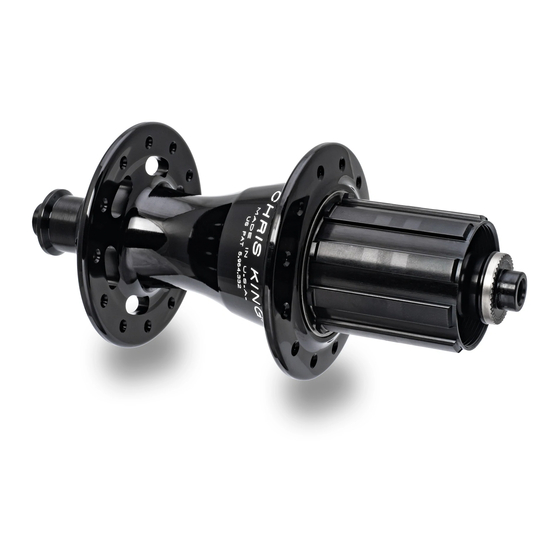
6. Hold hub or wheel in one hand and pull driveshell out with the other.
7. Hub shell bearings, RingDrive engagement and driveshell bearing assemblies can now be
accessed.
For RingDrive inspection and maintenance information, see "The RingDrive", pg. 11. For
bearing service information see "Service of the bearings", pg. 13.
Further disassembly requires specialized tools. These come individually or in the Chris King
Further disassembly requires specialized tools. These come individually or in the Chris King
Hub Service Tool Kit, which is available at any authorized Chris King dealer, or directly from
Hub Service Tool Kit, which is available at any authorized Chris King dealer, or directly from
Chris King Precision Components.
Chris King Precision Components.
Reassembly of two piece axle on rear Classic hub
(see Figure 6)
The following instructions assume that the driveshell is facing to the right:
1. Lightly grease threads on axle, adjusting cone and axle end. Apply two drops of Tri-fl ow™
or a quality 10w synthetic oil to O-ring on axle and driveshell.
2. Insert driveshell into the hub shell; turn in a clockwise motion while letting it pull itself
in. A distinctive click sound will indicate that the driveshell is fi rmly seated.
3. Insert main axle through driveshell. The axle is properly seated when the threaded end
appears through the bearing and the end is fl ush with the end of the hub shell.
4. If axle end and adjusting cone are assembled as one unit, disassemble by threading
axle end out of adjusting cone.
5. Thread adjusting cone onto the protruding threads of main axle.
6. Thread axle end into adjusting cone until it stops.
7. Proceed to "Adjustment of two piece axle on rear Classic hub", below.
Note: To improve performance, the axles have been precisely matched with the needle bearings
Note: To improve performance, the axles have been precisely matched with the needle bearings
in the driveshell. Be sure to combine only like numbered parts, (e.g., #3 axle with #3 needle
in the driveshell. Be sure to combine only like numbered parts, (e.g., #3 axle with #3 needle
bearing race).
bearing race).
Adjustment of two piece axle on rear Classic hub
(see Figure 6)
The following instructions assume that the driveshell is facing to the right:
1. Insert 5 mm hex wrenches into both ends of the axle assembly.
2. Hold right hand stationary and turn left hand counterclockwise 1/4 turn until the assembly is
loose.
3. Hold hex wrenches stationary and adjust bearing preload with the adjusting cone. You
may use the hub cone adjusting tool if necessary.
4. Advance adjusting cone until it contacts bearing. The rear hub takes a slightly higher
amount of preload than "no play", since some settling may occur while riding.
5. Once preload is set, tighten axle end to 110 inch-pounds.
6. Check adjustment by clamping wheel into frame with quick-release. Ride for 5-10
minutes, check for play or binding, and readjust as necessary. Double check adjustment
after the fi rst 5-10 miles of riding.
Note: Correct adjustment of the rear hub is necessary for proper engagement of the RingDrive.
Note: Correct adjustment of the rear hub is necessary for proper engagement of the RingDrive.
If the hub is run loose, the RingDrive may not engage properly and could lead to permanent
If the hub is run loose, the RingDrive may not engage properly and could lead to permanent
damage of the internal parts.
damage of the internal parts.
7