Chris King R45 DISC Manuale - Pagina 17
Sfoglia online o scarica il pdf Manuale per Strumenti Chris King R45 DISC. Chris King R45 DISC 20. Hub
Anche per Chris King R45 DISC: Manuale d'uso (16 pagine)
hex bolt. Use 2.5mm hex key as a lever to unscrew adjusting clamp.]
4. Remove axle from the main hub assembly by pushing it through from the non-driveside. [Tech note:
The outboard driveshell bearing of the Shimano-compatible R45 may or may not remain on the axle as
it is pushed out of the hubshell assembly. It will be remain on the axle in the Campagnolo-compatible
version.]
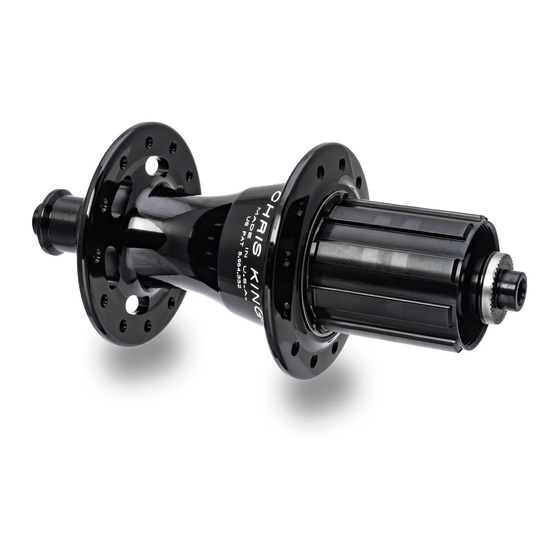
5. Remove driveshell by holding hubshell or wheel in one hand and with other hand pull driveshell straight
out of hubshell assembly.
Clean and relubricate all bearings and RingDrive by following the procedure on pages 11 to 13. When relubricating
the R45 RingDrive and helical splines on the driveshell, remember to use a quality 10w synthetic oil (such as Mobil
1® 10w-30 or equivalent).
Further disassembly requires the Chris King R45 Hub Service Tool, which is available from any
Further disassembly requires the Chris King R45 Hub Service Tool, which is available from any
authorized Chris King dealer, or directly from Chris King Precision Components.
authorized Chris King dealer, or directly from Chris King Precision Components.
Reassembly of R45 rear hub
1. Lightly lubricate all O-rings and lightly grease threads on axle.
2. Insert driveshell into the hub shell; turn in a clockwise motion while letting it pull itself in. A distinctive click
sound will indicate that the driveshell is fi rmly seated.
3. If outboard driveshell bearing is separated from axle:
a. For Shimano-compatible R45: slide bearing onto axle from the non-driveside with the black seal and
metal snapring facing the driveside and the white bearing retainer facing the non-driveside.
b. For Campagnolo-compatible R45: slide bearing onto axle from the driveside with the black seal and
metal snapring facing the driveside and the white bearing retainer facing the non-driveside. Slide Bearing
Retainer Sleeve onto driveside of axle until it snaps into place.
4. Insert main axle, threaded (non-driveside) end fi rst into driveshell. Continue until axle is through the
hub and driveside end is fi rmly seated in driveshell.
5. Thread adjusting clamp onto the protruding threads on the non-driveside of axle.
6. Insert R45 QR insert into non-driveside axle end.
7. Snug adjusting clamp up to bearing.
8. Proceed to "Adjustment of R45 rear hub", below.
Adjustment of R45 rear hub
The R45 rear hub features an adjusting clamp and bearing spacer spring that maintain proper bearing preload
and seating.
1. Place the hub or wheel onto a fl at, fi rm surface with the non-driveside facing up.
2. Push downward on the hubshell. This compresses the bearing spacer spring in the driveshell and
ensures proper bearing seating.
3. While maintaining fi rm downward pressure on the hubshell, tighten the adjusting clamp onto axle until
it stops against bearing. Do not overtighten.
4. Once adjusting clamp is in position, tighten adjusting clamp hex bolt to 10 inch-pounds using a 2.5mm
hex wrench.
5. Double check adjustment by attaching wheel to bicycle frame. Check for bearing play or binding, and
readjust adjusting clamp if needed.
Note: Correct adjustment of the rear hub is necessary for proper engagement of the RingDrive. If the hub is run loose,
Note: Correct adjustment of the rear hub is necessary for proper engagement of the RingDrive. If the hub is run loose,
the RingDrive may not engage properly and could lead to permanent damage of the internal parts
the RingDrive may not engage properly and could lead to permanent damage of the internal parts
B.
E.
F.
G.
B.
.
.
Campagnolo-compatible
B.
I.
15
H.
J.