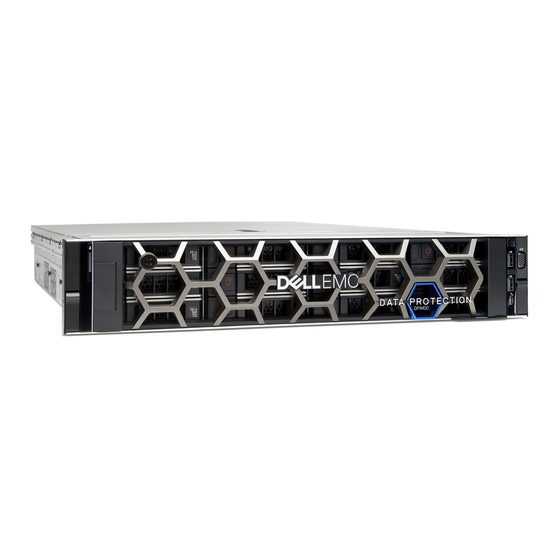
Dell EMC Integrated Data Protection Appliance DP4400 Manuale di installazione dell'hardware - Pagina 6
Sfoglia online o scarica il pdf Manuale di installazione dell'hardware per Immagazzinamento Dell EMC Integrated Data Protection Appliance DP4400. Dell EMC Integrated Data Protection Appliance DP4400 18. Emc integrated data protection appliance

- 1. Table of Contents
- 2. Installation Overview
- 3. Prepare the Site and Unpack the System
- 4. Install Network Validation Tool
- 5. Install the Rails
- 6. Secure the Rails to the Cabinet
- 7. Install the System in the Cabinet
- 8. Install the Bezel
- 9. Connect the System to the Network
- 10. Connect the Power Cables and Power on
- 11. Configure Idrac
- 12. Installing the Dataprotection-ACM Pre-Installation Patch
- 13. Launch the Appliance Configuration Manager
- 14. Additional Resources
Hardware Installation Guide
Install Network Validation Tool
Install the rails
Integrated Data Protection Appliance DP4400 2.4 Hardware Installation Guide
6
The Network Validation Tool (NVT) runs multiple tests to validate the network
configuration. You need to run the NVT from a system on the management network.
Before you install IDPA, it is recommended that you run the Network Validation Tool
to validate the network settings for a successful deployment of IDPA in the
datacenter. You must review the network configuration before starting the IDPA
installation. To download the NVT and for more information about the tool, see
https://help.psapps.emc.com/display/HELP/Network+Validation+Tool+for+IDPA.
The rails are labeled left and right, and cannot be interchanged. The front side of each
rail is labeled Left Front or Right Front when the rail faces the cabinet front.
Procedure
1. Determine where to mount the system, and mark the location at the front and
back of the cabinet.
Note
Install the left rail assembly first.
2. Fully extend the rear sliding bracket of the rail.
3. Position the rail end piece labeled Left Front facing inward and orient the rear
end piece to align with the holes on the rear cabinet flanges.
4. Push the rail straight toward the rear of the rack until the latch locks in place.
Figure 1 Installing the rear end of the rail
5. For the front end piece, rotate the latch outward and pull the rail forward until
the pins slide into the flange, and release the latch to secure the rail in place.
