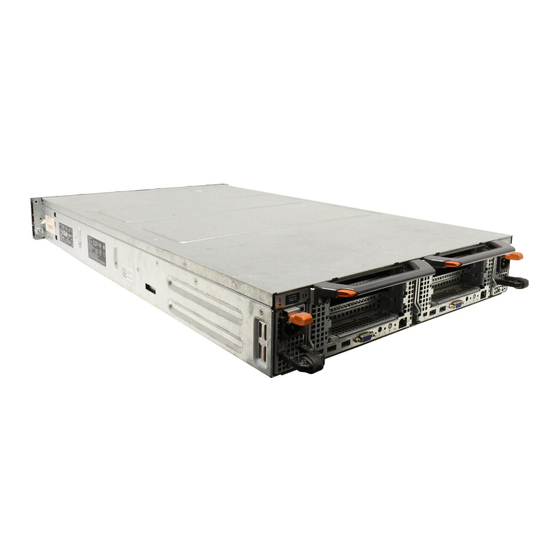
Dell EqualLogic FS7600 Manuale di installazione e configurazione - Pagina 16
Sfoglia online o scarica il pdf Manuale di installazione e configurazione per Immagazzinamento Dell EqualLogic FS7600. Dell EqualLogic FS7600 46. Appliances
Anche per Dell EqualLogic FS7600: Panoramica (7 pagine), Manuale d'uso dell'hardware (32 pagine)

Dell EqualLogic FS7600 Installation and Setup Guide
Number Component
Service tag
1
Displays the appliance service tag information (identical to the service tag information on the
front panel).
Power supply (one of two)
2
Left: PSU1
3
Controller release latch
4
Controller handle
Controller (one of two): Redundant NAS processing unit
5
Left: Controller 1
Serial COM port (mini USB connector)
Allows you to connect a serial device to the system.
6
This connector is for service only. Use this connector only if asked to do so by Dell
support.
7
USB ports
8
Video port
From left to right: Service Action Button, Power-On Indicator/Power Button, Controller
Health Indicator, System Identification Button, and Cache Active/Off-Load LED. For
9
information about these indicators and buttons, see the FS7600 NAS appliance Hardware
Owner's Manual.
10
Remote KVM
Guidelines for Installing Mounting Rails in a Rack
Plan where to install the mounting rails. The appliance uses 2U of rack space.
Dell recommends that you install the rails according to the following guidelines:
•
Make sure the rack meets the requirements in
show a square-hole rack, but the installation instructions also apply to round-hole racks.
•
Install hardware starting from the bottom of the rack.
Steps for Installing an Appliance in a Rack
You need at least two persons to install the appliance in a rack.
1. Obtain the rail kit. See
2. Position the left and right rails in the orientation in which you will install the rails.
3. Attach the rails to the rack. See
4. Slide the appliance into the rack.
5. Secure the appliance to the rack. See
10
Table 6: Back-Panel Components
Right: PSU2
Right: Controller 2
Rack Requirements on page
Shipping Box Contents on page
Attaching the Rails to the Rack on page
Securing the Appliance to the Rack on page
7. The graphics in this manual
6.
11.
2 Hardware Rack Mounting
12.
