Dell PowerVault TL4000 Come iniziare - Pagina 15

Sfoglia online o scarica il pdf Come iniziare per Immagazzinamento Dell PowerVault TL4000. Dell PowerVault TL4000 38. Tape library
Anche per Dell PowerVault TL4000: Note di rilascio (3 pagine), Faq (26 pagine), Manuale di avvio rapido (7 pagine), Manuale del software (16 pagine), Manuale di configurazione (22 pagine), Informazioni importanti Manuale (10 pagine), Addendum al manuale d'uso (2 pagine), Manuale introduttivo (3 pagine), Istruzioni per l'allegato (17 pagine), Opuscolo (4 pagine), Manuale d'uso (20 pagine)
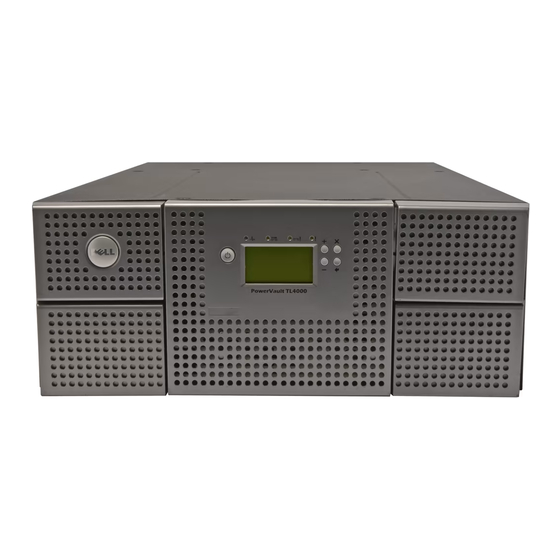
Dell PowerVault TL4000 Come iniziare
The 2U library and the 4U library are easily installed into a standard 19-inch rack
system. A standard 19-inch rack system contains multiple mounting locations
called EIA units as defined by the Electronics Industries Association. Each EIA unit
contains three square or round holes used to mount rack designed equipment.
These units are often referred to as "U"s, thus the 2U library requires 2 EIA units
(or 6 holes) of space; the 4U library takes 4 EIA units (or 12 holes) of space. Each
unit is separated by a very small space. See Figure 2-5 for an example of how to
count EIA units. The 2U library requires 2U (3.5 in.) of space. The 4U library
requires 4U (7 in.) of space.
If you are not rackmounting your library, skip this procedure and go to
"Connecting the Host Interface Cable" on page 1-10.
Important: A 2U library weighs 15.59 kg (34.37 lbs.) with one drive and without
media. A 4U library weighs 21.32 kg (47 lbs.) with one drive and
without media.
To reduce the risk of personal injury or damage to the library:
1. observe local health and safety requirements and guidelines for
manual material handling,
2. obtain adequate assistance to lift and stabilize the library during
installation or removal, and
3. always remove all cartridges to reduce the overall weight of the
library.
To install your library in a rack, perform the following steps.
1. Verify that your rack kit includes the following contents (see Figure 1-4 on page
1-6):
v Packaged in plastic material:
– 2 rails (not shown)
– 2 mounting brackets ( 1 )
v Packaged in the small bag with no label:
– 1 Torx wrench ( 5 )
– 2 anchors ( 4 )
– 2 countersunk screws for securing the anchors ( 6 )
– 2 smaller screws for securing the tops of the mounting brackets ( 7
– 2 large screws to secure the mounting brackets to the rack ( 8 )
v Packaged in the small bag with "Round Hole" on the label: 9 screws to be
used on racks with round holes. ( 2 )
v Packaged in the small bag with "Square Hole" on the label: 9 screws to be
used on racks with square holes. ( 3 )
Note: Eight screws are needed for the installation. One additional screw is
provided.
1-5
Installation