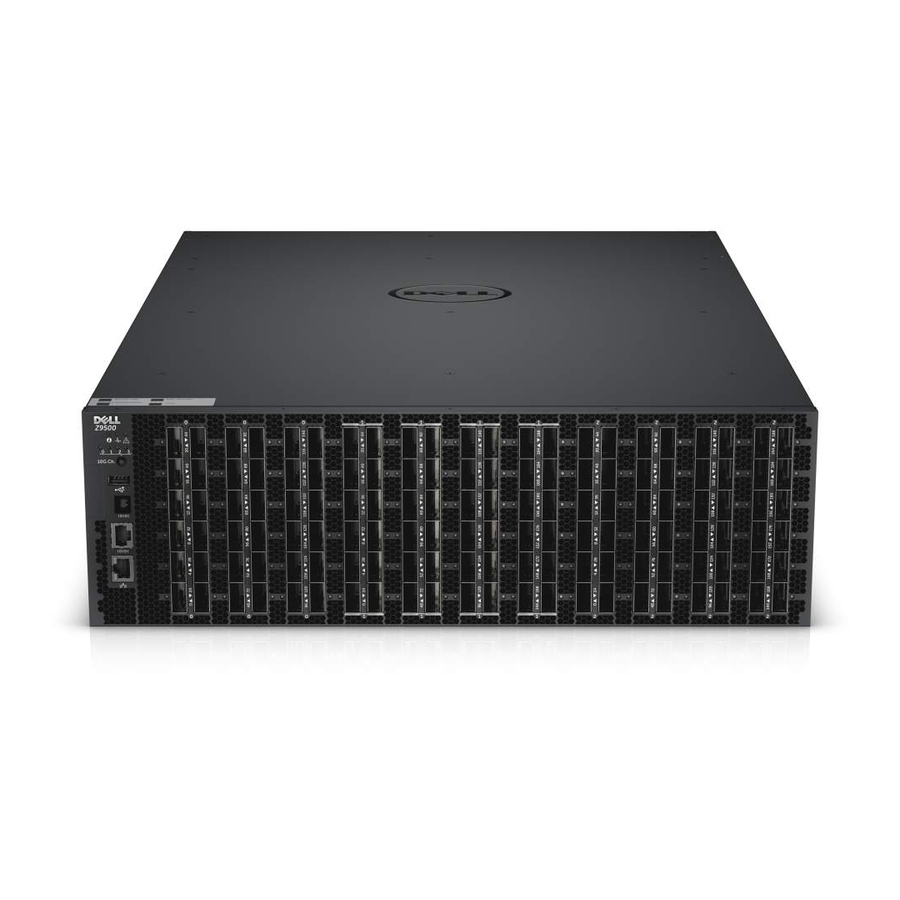
Dell Networking Z9500 Manuale introduttivo - Pagina 26
Sfoglia online o scarica il pdf Manuale introduttivo per Interruttore Dell Networking Z9500. Dell Networking Z9500 34. Z9500 switch
Anche per Dell Networking Z9500: Manuale di installazione (47 pagine)

Figure 12. USB-B Console Port Connector
1.
Power on the PC.
2.
Install the necessary USB device drivers (you will need an Internet connection). For assistance,
contact Dell Networking Technical Support.
3.
Connect the USB-A end of cable into an available USB port on the PC.
4.
Connect the USB-B end of cable into the USB-B console port on the system.
5.
Power on the system.
6.
Open your terminal software emulation program to access the system.
7.
Set the terminal connection settings. Use these settings.
– 9600 baud rate
– No parity
– 8 data bits
– 1 stop bit
– No flow control
The CLI prompt appears (Dell>_) when you are connected to the system.
NOTE: Only one of the console ports can be active at a time; the USB console takes priority over
the RJ-45 console by default. When a USB Host (PC) is plugged into the USB console port, the
hardware automatically switches over to use the USB console. When you remove the USB cable or
the PC deactivates the USB connection, the hardware automatically switches to the RJ-45 console
interface.
Enter the Initial Configuration Information
To set up the switch, assign an IP address and other configuration information necessary for the switch to
communicate with the local routers and the Internet. The minimal configuration provided here does not
cover most of the features; it simply allows you to perform other configuration tasks using a Telnet
connection from your management network. To configure other features and interfaces, refer to the Dell
Networking OS Configuration Guide for the Z9500 Switch.
IP Settings
You will need the following information from your network administrator:
26
Getting Started Guide
