Dell Z9100-ON Manuale di installazione - Pagina 26
Sfoglia online o scarica il pdf Manuale di installazione per Interruttore Dell Z9100-ON. Dell Z9100-ON 45. Open networking
Anche per Dell Z9100-ON: Manuale di installazione (45 pagine), Manuale di installazione (43 pagine)

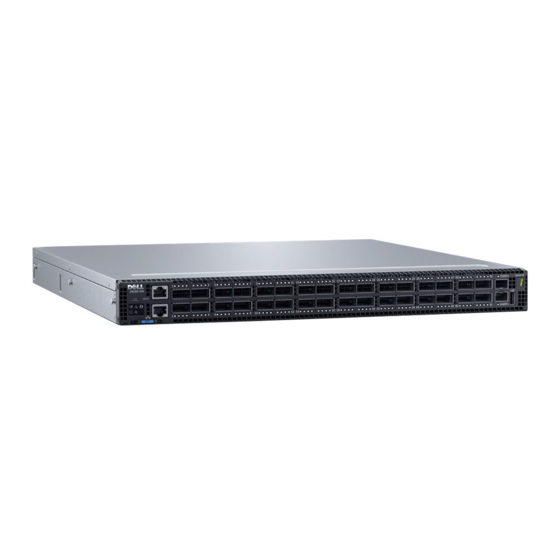
Figure 15. Port pipes
Switch power up
Supply power to the Z9100–ON after it is mounted in a rack or cabinet.
Dell EMC recommends re-inspecting your switch before powering it up. Verify the following:
● The equipment is properly secured to the rack and properly grounded, recommended.
● The equipment rack is properly mounted and grounded, recommended.
● The ambient temperature around the unit, which may be higher than the room temperature, is within the limits specified for
the Z9100–ON. For more information, see Specifications.
● There is sufficient airflow around the unit.
● The input circuits are correctly sized for the loads and that you use sufficient overcurrent protection devices.
● All protective covers are in place.
NOTE:
A US AC or DC power cable is included for powering up an AC or DC power supply. You must order all other power
cables separately.
NOTE:
ESD damage can occur if components are mishandled. Always wear an ESD-preventive wrist or heel ground strap
when handling the Z9100–ON and its components.
After Z9100–ON installation
After you have securely installed and powered on the Z9100-ON, to configure your switch:
● If you are using Dell EMC software, see switch documentation at www.dell.com/support.
● If you need ONIE information, see ONIE documentation at www.onie.org.
Switch replacement
The following steps describe removing and replacing a switch. For further assistance when replacing a switch, contact your Dell
EMC support representative.
NOTE:
ESD damage can occur when components are mishandled. Always wear an ESD-preventive wrist or heel ground
strap when handling the switch and accessories. After you remove the original packaging, place the switch and components
on an anti-static surface.
1. Back up the switch configuration to your back-up computer or laptop TFTP server.
copy running-config tftp://hostip/filepath
To establish a console connection to the switch CLI, assign an IP address on the switch network.
2. Disconnect the power source.
3. Label and remove all cables.
4. Remove the switch from the rack.
At the same time, press in the two side-release bars on the switch and slide the switch forward.
26
Z9100–ON installation
