EarthWay 2600A-Plus Manuale di istruzioni per il montaggio - Pagina 4
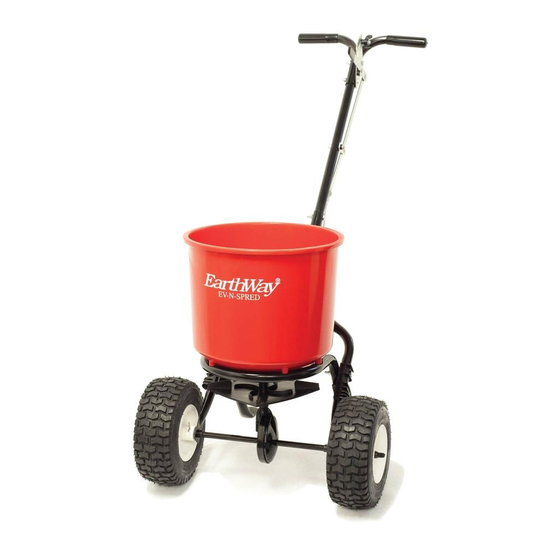
Sfoglia online o scarica il pdf Manuale di istruzioni per il montaggio per Spreader EarthWay 2600A-Plus. EarthWay 2600A-Plus 6. 40 lb broadcast spreader
Anche per EarthWay 2600A-Plus: Manuale di istruzioni per il montaggio (6 pagine)
Assembly and Operation Instructions
11. Using ½" Carriage Bolt, install through the Control Rod, Linkage and
install the Flat Washer and secure with Hex Nut to a loose fit to allow for
CALIBRATION below. See above, right, and below for details.
12. CALIBRATION: THIS STEP ENSURES THAT YOUR SPREADER IS PROPERLY
ADJUSTED TO GIVE YOU A CORRECT STARTING POINT TO APPLY MATERIALS AT
THE CORRECT SETTING. Pull the Control Lever back to #30 on the Gauge, then
push the shut-off plate forward until the shut-off and the drop holes are full
open. Now tighten the Hex Nut on the ½" Carriage Bolt on the Linkage
Assembly. Check to confirm calibration by closing the Control Lever, then
reopening to #30 and confirm that the drop holes are fully open.
13. Insert agitator to pinion shaft on inside of hopper. NOTE: Position of flat side
of the agitator as shown at the right.
OPERATING INSTRUCTIONS
Before filling hopper, become familiar with the operation of this spreader.
1. Obtain proper setting for material to be used from the RATE SETTING MATRIX included with this spreader.
2. Move stop bolt on rate gauge assembly to the proper setting for the material that you are spreading.
3. While pushing spreader forward, pull the Control Lever back to stop bolt.
4. To stop, push lever forward to close flow holes before you stop moving.
5. When finished, empty any remaining material from hopper.
6. Thoroughly wash spreader and allow to dry before storing. Spray all metal surfaces (inside & outside) with WD40
or other light oil to help prevent corrosion.
EarthWay 2600A-Plus_12-3
PAGE 4