EarthWay 2600A-Plus Manuale di istruzioni per il montaggio - Pagina 3
Sfoglia online o scarica il pdf Manuale di istruzioni per il montaggio per Spreader EarthWay 2600A-Plus. EarthWay 2600A-Plus 6. 40 lb broadcast spreader
Anche per EarthWay 2600A-Plus: Manuale di istruzioni per il montaggio (6 pagine)
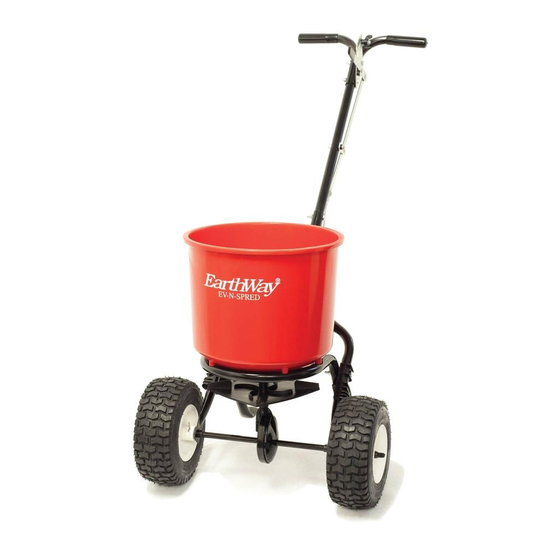
Assembly and Operation Instructions
Slide the axle (coast wheel side first) through
Step 5:
the right side lower handle and into the gearbox (with
the arrow facing the FRONT). You will need to rotate the
axle to engage with the gearbox, then through the left
side lower handle.
Next, install the axle bearings over the axle and into both
lower handles as shown to the right.
NOTE: You need to align the tab on the bearings and
the notches in the lower handles. (See right.)
NOW GO BACK AND TIGHTEN ALL NUTS AND BOLTS STARTING WITH FIRST STEP. DO NOT OVER TIGHTEN.
Install the drive wheel onto the axle and align
Step 6:
it with the cotter pin hole nearest to the lower handle (as
shown). Insert the 1 ¾" cotter pin through the wheel and
axle. Bend with pliers to prevent pin from falling out.
Install the coast wheel onto the axle fully,
Step 7:
then add the 1" large flat washer. Insert the ¾" cotter
pin through the axle (not through the wheel). Bend with
pliers to prevent pin from falling out.
Select (2) ¼" x 1 1/2" bolts and (2) ¼"-
Step 8:
20 nylon lock nuts to complete this step.
Notice that the circular handle shaft has two sets
of holes in both ends. The holes that are closest
to the end of the shaft is the top. Slide the handle
shaft inbetween the handles and secure with (2)
¼"-20 bolts and nylon lock nuts.
Insert (2) ¼"-20 x 1 ½ bolts through
Step 9:
the gauge and linkage assembly, then through
the upper handle, and handle shaft. Secure with
two ¼"-20 nylon lock nuts.
2600A-PLUS_M52215_July2021
PAGE
TURN SPREADER UPRIGHT ON TO WHEELS
1
/4 - 20 Lock-nut
Handle Shaft
1 /4 - 20 x 1-1/2" Bolt
PAGE 3