Allnet ALL0235mini Manuale di installazione rapida - Pagina 2
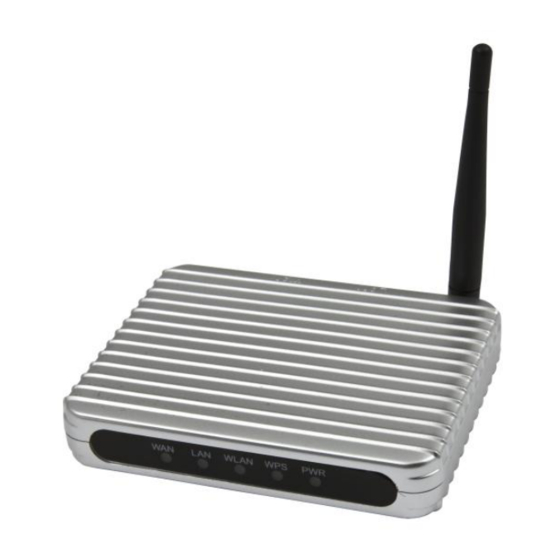
Sfoglia online o scarica il pdf Manuale di installazione rapida per Router di rete Allnet ALL0235mini. Allnet ALL0235mini 2. Mini 802.3b/g mobile w-lan router

Certifications
This equipment has been tested and found to comply with the limits for a Class B digital device, pursuant to Part 15
of the FCC Rules, the requirements relating to electromagnetic compatibility, EN 55022 class B for ITE, the essential
protection requirement of Council Directive 2004/108/EC on the approximation of the laws of the Member States
relating to electromagnetic compatibility and R&TTE Directive 1999/5/EC to meet the regulation of the radio
equipment and telecommunications terminal equipment. All trade names and trademarks are the properties of their
respective companies. Copyright © 2010, All Rights Reserved
Unpacking information
1.One Travel Router 2.One USB cable 3.One External Power Adapter 4.One manual CD
Connecting this Travel Router to your
network
Note: The following connection guide uses Windows XP as the presumed operation system. The procedures and
screens in Windows 2000 and Vista are familiar with Windows XP.
1.
Connect the phone line from the wall socket to the line-in port on the ADSL modem, or the coaxial cable to the
line-in port on the Cable modem.
2.
Connect the ADSL or Cable modem to the Ethernet WAN port on the back of the Travel Router by using the
UTP cable.
3.
Plug-in the power adapter to the modem and turn on the power. Install the Ethernet card into the computer by
referring to the User Guide that came with the card.
Connect the computer to the Travel Router by using standard twisted-pair Ethernet cable from the computer's
4.
Ethernet card to the LAN port on the back of the Travel Router.
5.
Plug-in the power adapter to the Router and the other side to the wall outlet.
Configuring the Travel Router
1.
In order to communicate with this Travel Router, you have to configure the IP address of your computer to make
it compatible with the device.The default network setting of the device:
IP address: 192.168.100.1
2.
You can use a browser to access the management interface easily. Please open the Internet WEB browser,
and type 192.168.100.1 into the URL WEB address location and press Enter Key.
The Login window appears. And then enter admin (default value) in the "User Name" location and the
3.
"Password" location, then click "OK" button.
4.
After the password authorization, the information page shows up as the home page of the Graphic User
Interface. You may click the menu links on left column of the window to get access to each configuration page.
You should click the "Apply Changes" button to save your configuration for this device. You can also restore
Note:
the default settings by clicking the "Reset" button.
You have completed the configuration. For more advanced features and additional details, please refer to
the User Manual.
Subnet Mask: 255.255.255.0
61NB-W142C0+20W
