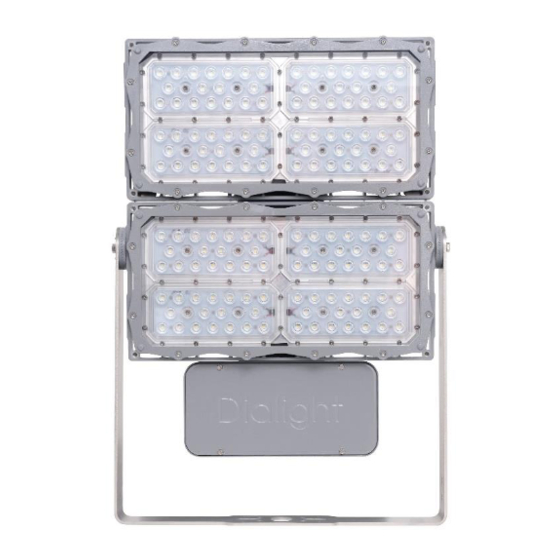
Dialight ProSite Istruzioni per l'installazione e il funzionamento - Pagina 5
Sfoglia online o scarica il pdf Istruzioni per l'installazione e il funzionamento per Luce a diluvio Dialight ProSite. Dialight ProSite 18. For cid2/ciid1/ciid2/ciii
Anche per Dialight ProSite: Istruzioni per l'installazione e il funzionamento (9 pagine), Istruzioni per l'installazione e il funzionamento (20 pagine), Istruzioni per l'installazione e il funzionamento (8 pagine)

Visors
Part Number
Description
F1NVISOR
F1 NEMA Visor
F2NVISOR
F2 NEMA Visor
F2AVISOR
F2 Asymmetric Visor
1. Install the visor using the same holes in the
light engine heatsinks referenced in Step 1
of the Wire Guard instructions.
Torque to 30-33 in-lbs. [3.4-3.7 N-m].
NOTE: F2 Models uses the 4x screw locations
on each light engine heatsink for a total of 8x
screws.
9100FLM00905 REV A
Page 5 of 18
ProSite Floodlight Replacement Parts & Accessories
House Shield using Visor
Part Number
F1NVISOR
F1 NEMA Visor
NOTE: F1and F2 models both use the F1 NEMA
Visor as their House Shield.
NOTE: Install the visor upside down in order to
utilize it as a house shield.
1. Install the visor using the same holes in the
light engine heatsinks referenced in Step 1
of the Wire Guard instructions.
Torque to 30-33 in-lbs. [3.4-3.7 N-m].
NOTE: F2 Models uses the 4x screw locations
on each light engine heatsink for a total of 8x
screws.
Bird Spikes
Description
Part Number
F1SPIKES
F2SPIKES
NOTE: The bird spikes are displayed in red for
easy visibility.
1. The bird spike to be mounted to the driver
lid should utilize the retention loops on the
driver lid for the zip/cable ties.
2. The bird spikes to be mounted on the light
engine fins should utilize the rim of the light
engine for the zip/cable ties.
Dialight, 1501 Route 34 South, Farmingdale, NJ, USA 07727
Tel: +1 732 919 3119 Fax: +1 732 751 5778
Description
F1 Bird Spikes (3x 12")
F2 Bird Spikes (3x 24")
www.dialight.com
