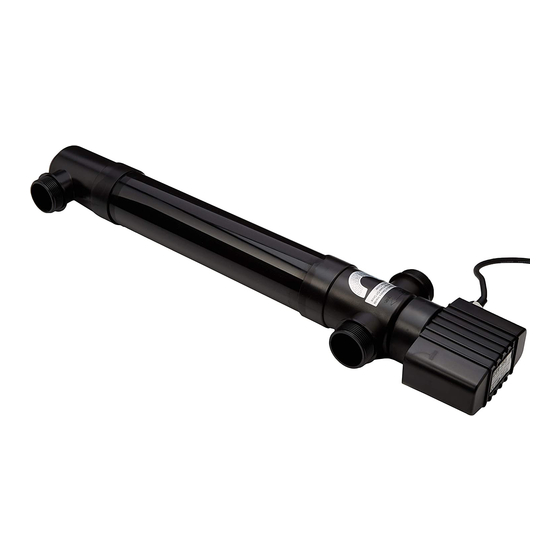
AllPondSolutions CUV-136 Manuale - Pagina 6
Sfoglia online o scarica il pdf Manuale per Sterilizzatore AllPondSolutions CUV-136. AllPondSolutions CUV-136 17. Pond & aquarium uv steriliser

3. Add fixing brackets to your unit. There should be one at each end of the unit.
You can then use them to secure the unit on flat surface.
3. Clear hosetail - is interchangeable with the black hosetail. It has a spindle
that indicates the flow rate so you can use it on the
inlet/outlet. Sometimes you may notice the spindle
stops rotating, this is okay as long as the water runs
through the unit.
4. Make sure the O-rings are placed smooth side up
to the hosetail (see image on the right for reference).
This will prevent leakage.
5. Pond installation - place your CUV unit at least 2 metres away from pond.
This is to ensure the UV unit cannot fall into the pond. Connect pipework from
feeder pump (not included) to inlet hosetail and secure using clip/clamp.
Connect pipework to hosetail outlet to feed into filtration system (not included)
or return water to pond to ensure this is water tight.
6. Aquarium installation - place your CUV unit securely on a flat surface.
Connect outlet pipework from aquarium pump or external filter to CUV inlet
hosetail.
Connect pipework to hosetail outlet to return water to aquarium. Secure all
pipework using hose clip/clamp to ensure this is water tight..
5. Connect your CUV to the mains - connect the unit to the mains using a
residual current device (RCD) for additional safety.
6. Switch on your unit at the mains - turn on the operation by switching on the
unit at the mains.
