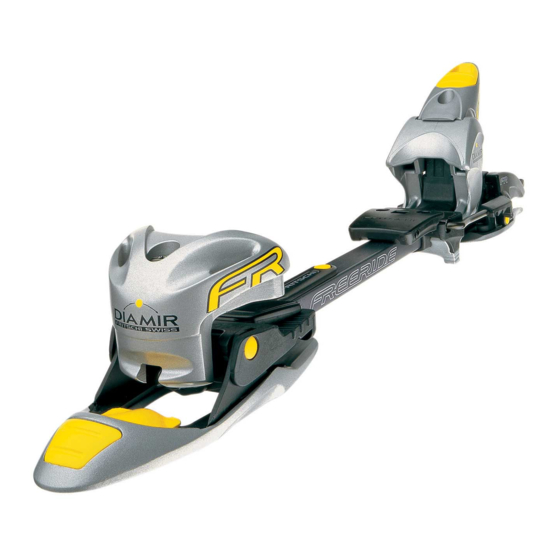
Diamir Freeride Pro 10/11 Manuale di servizio - Pagina 8
Sfoglia online o scarica il pdf Manuale di servizio per Attrezzature per il fitness Diamir Freeride Pro 10/11. Diamir Freeride Pro 10/11 20. Eagle experience freeride pro

6 DIAMIr
Service Manual for specialist dealers
4.2
Mounting the ski brake
Before mounting the ski brake make sure that the U-frame and the support plate are correctly positioned (Pictures 4.2 A/B).
Start mounting the ski brake by positioning it on the heel support and tighten the screws of the ski brake with a screwdriver by hand
(Pictures 4.2 C/D).
Check the function of the ski brake according chapter 6.4.
Picture 4.2 a
4.3
Crampons
4.3.1 Parts of crampon Axion
axion
A1 Knife
A2 Support
A3 Support lock
A4 Holding pin
Black (Picture 4.3 a1)
A2
A3
A4
A1
4.3.2 Mounting the crampon Axion
1. Open the support lock (A3) of the crampon with both thumbs (Picture 4.3 D).
2. Slide the holding pins (A4) into the bearing fork (14) respectively from below into the base plate (16) and push it upwards to the end
stop until it snaps (Pictures 4.3 E/F/G).
3. Close the support lock (A4) until it audibly snaps in (Picture 4.3 H).
We recommend mounting the Axion crampons before the tour, activating them when needed. For the descent they must be
removed.
4.3.3 removing the crampon Axion
Open the support lock (A3) with the tip or the knob of the ski pole in direction of the arrow (Picture 4.3 I).
Pull the crampon Axion down and take it off.
4.3.4 Mounting the crampon Standard
Insert the two tongues under the base plate (16) and push the crampon downwards until it snaps over the central rail (17). to remove
reverse the procedure (Picture 4.3 J).
If the rubber sole of the boot is worn out you have to use the crampon clip available as an accessory.
Picture 4.2 B
Black (Picture 4.3 a2)
A2
A3
A4
A1
Picture 4.2 c
Red (Picture 4.3 B)
A2
A3
A1
A4
Picture 4.2 D
Standard
B1 Knife
B2 Plastic piece of crampon
(Picture 4.3 c)
www.diamir.com
B2
B1
