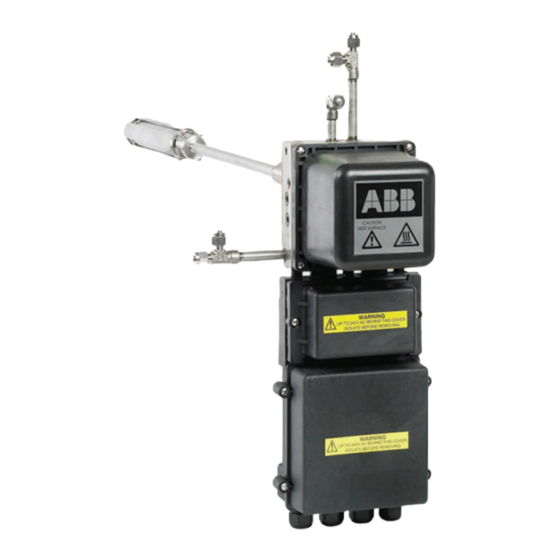
ABB Endura AZ40 Istruzioni per l'uso - Pagina 7
Sfoglia online o scarica il pdf Istruzioni per l'uso per Apparecchiature industriali ABB Endura AZ40. ABB Endura AZ40 16. Oxygen and carbon monoxide equivalent (coe) analyzer
Anche per ABB Endura AZ40: Manuale (16 pagine), Manuale di istruzioni per l'uso (20 pagine)

7 Cleaning / Replacing CO and O
orifices
Referring to Fig. 7.1.
1
1. Use a
/
in. allen key (wrench) to loosen and remove CO
4
orifice pipe plug A. Retain for re-use.
5
2. Use a
/
in. allen key (wrench) to loosen and remove CO
32
orifice B. The CO orifice has 2 notches in the head.
1
3. Use a
/
in. allen key (wrench) to loosen and remove O
4
orifice pipe plug C. Retain for re-use.
5
4. Use a
/
in. allen key (wrench) to loosen and remove O
32
orifice D. The O
orifice has 1 notch in the head.
2
5. Carefully clean any blockages or debris from both orifice
holes using a low pressure air hose.
WARNING – Bodily injury
– Do not use compressed air for any other
purpose than that for which it is provided.
– Never direct a stream of compressed air
towards your body or the body of any other
person.
– When handling / connecting compressed air
lines the correct safety procedures must be
observed.
If the blockage cannot be cleared, renew both orifices.
CAUTION – Damage to equipment
Do not drill chamber out or scratch inner surfaces
as damage to any of the internal faces affects
aspirator performance.
6. Apply a small amount of anti-seize compound to the thread
2
of each orifice (B and D) and each pipe plug (A and
C).
CAUTION – Damage to equipment
Do not allow anti-seize compound to contaminate
the manifold surfaces or enter orifice holes.
2
5
7. Use a
/
(2 notches in head) in place in the CO orifice chamber.
2
1
8. Use a
/
plug A in place in the CO orifice chamber.
5
9. Use a
/
(1 notch in head) in place in the O
1
10. Use a
/
plug C in place in the CO orifice chamber.
11. Prepare the sensor assembly for operation by reversing
the shutdown / isolation procedure – refer to Section 4,
page 4.
12. Refer to Operating instruction OI/AZ40-EN to restore the
analyzer to full operational condition.
Fig. 7.1 Cleaning / Replacing the orifices
Endura AZ40 | Sensor assembly | Orifice and seals kit | INS/ANAINST/007-EN Rev. B
in. allen key (wrench) to secure CO orifice B
32
in. allen key (wrench) to secure CO orifice pipe
4
in. allen key (wrench) to secure O
32
in. allen key (wrench) to secure O
4
orifice D
2
orifice chamber.
2
orifice pipe
2
7
