AQUAPHOR RO-102S IL Manuale d'uso - Pagina 11
Sfoglia online o scarica il pdf Manuale d'uso per Sistemi di filtrazione dell'acqua AQUAPHOR RO-102S IL. AQUAPHOR RO-102S IL 16. Reverse osmosis system

• Let the water flush through RO for 1 hour.*
• Close the clean water faucet.
Step 4
Flushing the conditioning cartridge К7М / К7ВМ
• Close the clean water faucet and fill in the
storage tank. This will take 30–50 minutes,
depending on water pressure.
• Open the clean water faucet and then wait until
all of the water flows out from the storage tank.
• Repeat these steps two more times.
• Close the clean water faucet.
• When the tank is full, RO is ready for operation.
NOTE:
In total, the general flushing of filter and
membrane cartridges and startup time will take
you about 3 hours.
10. Replacing cartridges
The membrane cartridge service life directly
depends on operation of the preliminary wa-
ter treatment unit (cartridges К5 / К1 and K2).
Therefore, it is always very important to replace
the filtering cartridges in a timely manner.
Replacing cartridges К5 / К1
and K2 (figure 12):
1. Set the shutoff valve on the connection node
into the closed position, and then open the
clean water faucet to discharge any pressure.
2. Press the button above the cartridge, and
then rotate the used filter cartridges К5 / К1
and (or) K2 in a clockwise direction to remove
the used cartridge.
3. Install the new cartridges К5 / К1 and (or) K2
according to Table 2.
4. Press the button above the cartridge, and then
rotate the membrane cartridge in a clockwise
direction to remove it.
5. Make sure the service cap is installed in the
housing (figure 1, position 10b), figure 13.
6. Set the shutoff valve on the connection node
into the open position.
* Depending on the storage, transportation and operation
conditions, the complete flushing of membrane cartridge may
take up to 24 hours.
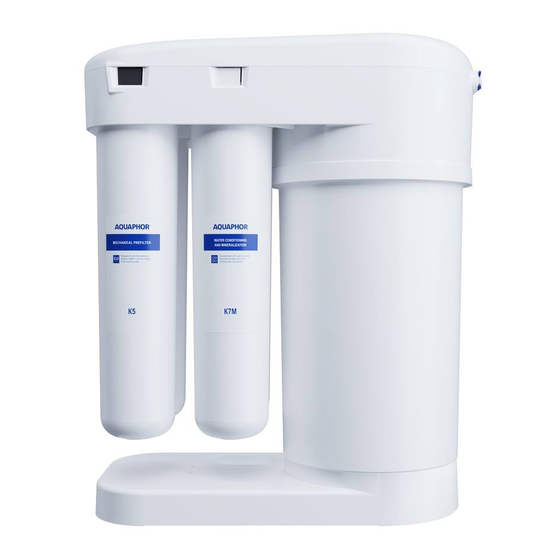
Figure 12. Cartridge installation
Figure 13. Installation of the membrane
cartridge service plug
7. Open the clean water faucet and flush the
preliminary water treatment cartridges for
around 20–30 minutes.
8. Set the shutoff valve on the connection node
into the closed position.
9. Install the membrane cartridge instead of the
service cap.
10. Interchange the positions of К5 / К1 and K2
cartridges.
11. Set the shutoff valve on the connection node
into the open position and close the clean
water faucet.
12. Make sure that RO connections are sealed.
Stop button
11
