Burley ALTERNATIVE HITCH Manuale - Pagina 5
Sfoglia online o scarica il pdf Manuale per Accessori per biciclette Burley ALTERNATIVE HITCH. Burley ALTERNATIVE HITCH 6.

FIGURE 5
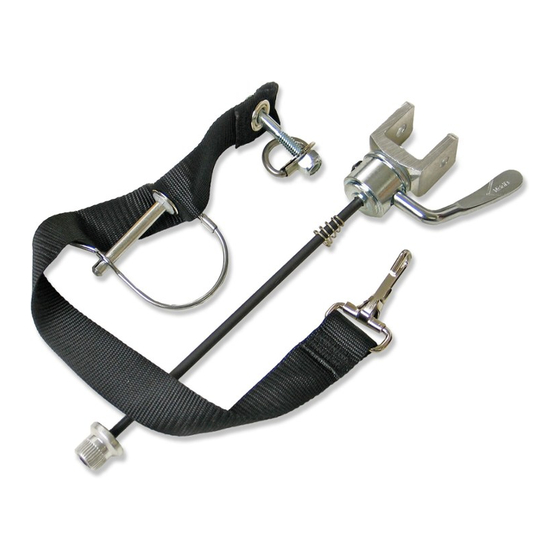
Lock Pin
Bail Wire
Black Elastomer Coupler
4) Coil the free end of the long safety strap around the non-drive side stay.
Wrap to shorten excess strap length as needed. (Figure 6).
5) Secure the strap end by running the strap through the D-buckles above
the cantilever stud (or other permanent frame projection) and around
the stay—not around the cantilever stud (Figure 6).
FIGURE 6
Cantilever Brake Stud
NOTE: The mono-stay strap comes with a clip and D-ring which should be
attached to the top of the tongue under the head of the tongue coupler bolt.
NOTE: Generous safety strap length enables the strap to be tightened
securely around non-drive side stay. Coil excess free end of strap around
non-drive side stays and tuck end under coiled strap to avoid contact with
wheel hub and spokes.
8
Safety
Strap
To Alternative
Hitch
Never install a quick-release spring on the hitch (non-drive) side of the
Alternative Hitch. The spring will interfere with complete engagement of
the hitch, which could result in an accident and serious injury.
FIGURE 3
Nut or
Adjusting nut
(choose one)
Closed
Position
7) Secure the assembly by rotating the quick-release lever in a counter-
clockwise direction so that the lever profile presents a concave profile
facing inward toward the rear wheel. The lever will meet progressively
more resistance (like a traditional quick-release). Use the nut to adjust
the quick-release lever for a snug fit (finger tight).
8) Open and readjust as necessary until the wheel is tightly clamped. Give
a final check to the tightness of the wheel by grabbing the rim and
attempting to move the wheel in the dropout.
If you are unfamiliar with the use of quick-release levers, contact your
authorized Burley dealer for a demonstration.
NOTE: Confirm that the wheel is centered in the frame and adjust the
brakes as necessary.
9) Inspect the amount of threads protruding from the nutted end of the
quick-release skewer. The threaded rod is very sharp and can cause
injury if extending beyond the nut. If the threads extend 4mm or more
out of the nut, you will have to cut the quick release skewer down to
a shorter length.
a) Mark the skewer threads 2-4mm from the end of the nut with a
permanent marker, remove the nut and single spring, and set aside. As
an option, count the number of threads needed to cutdown the skewer
to size and use this figure as a guide after removing the skewer.
Quick-release
lever
Open
Position
5
