Burmester 011 Manuale d'uso - Pagina 5
Sfoglia online o scarica il pdf Manuale d'uso per Amplificatore Burmester 011. Burmester 011 16.
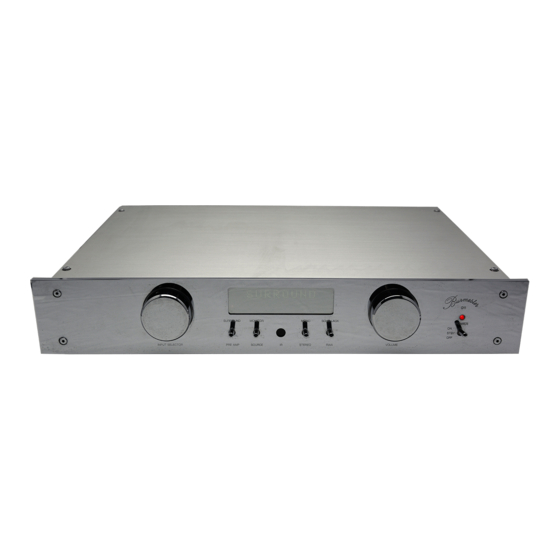
START - UP PROCEDURE
Standard supply
The preamp 011 comes with the following:
· 1 Shipping carton
· 1 Owner's manual
· 1 Power cord
· 1 Warranty card and registration
Packaging
We recommend keeping the original packaging material in case of a move or future shipping.
Setting up
Carefully remove the preamp from the shipping carton and set it up in an appropriate location. Make
sure that the vent openings on the sides are not covered up and that there is sufficient cooling air
circulation around the unit.
Connection procedure
General hints
Make sure your stereo system is completely switched off while you are connecting the various com-
ponents to the preamplifier.
AC terminal
Make sure the AC mains switch (19) is set to OFF. Connect the power cord with the AC terminal (18)
and plug the power cord into the AC wall outlet. The correct phase polarity has been marked on the
plug of the supplied AC cord.
Power switch
The AC mains switch (19), which disconnects the preamplifier from AC power, is located above the
AC mains input (18) on the rear panel. By setting the switch to ON only the transformer is connected to
AC power. The POWER switch (1) on the right side of the front panel activates all functions.
Infrared receiver
The infrared receiver (9) for signals from the IR remote control must not be covered up.
The inputs
The 011 preamplifier offers seven pairs of balanced inputs: PHONO (47 / 48), CD (45 / 46), TUNER (43 / 44),
AUX 1 (41 / 42), AUX 2 (39 / 40), AUX 3 (37 / 38) as well as SURROUND (35 / 36).
Furthermore, it offers two pairs of unbalanced inputs: AUX 4 (33 / 34) und TAPE - IN (31 / 32).
Caution: If several unbalanced components are to be connected and the number of standard unbalanced
inputs do not suffice, it is of course possible to operate the balanced inputs as unbalanced by using
XLR - RCA adapter plugs. These adapters can be supplied by your dealer.
Phono
The preamp is set up for MC (Moving Coil) phono cartridges. Custom loading for the correct impe-
dance is done using the configurations menu. Also, cartridges may be used that are fit for playing
old shellac records. Switching between regular and shellac records is done using the SHELLAC / RIAA
switch (5) on the front panel. To connect a turntable with an RCA - terminated tone arm cable, please
use XLR - RCA adapter plugs.
Please note that standard MM (Moving Magnet) cartridges may not be connected .
Surround
The input marked SURROUND is for hooking - up surround processors or surround decoders. With the
SURROUND / PREAMP switch (13) the decoded signal from the processor can be routed directly to
the outputs of the 011. In this operating mode the preamp has no further function, but to pass the signal
through. Thus makes it easy to integrate surround components into an existing hifi system without
cumbersome re-connecting of cables.
CAUTION:
Only connect components with their own volume control to this input, since the signal is routed
directly to the power amp.
4