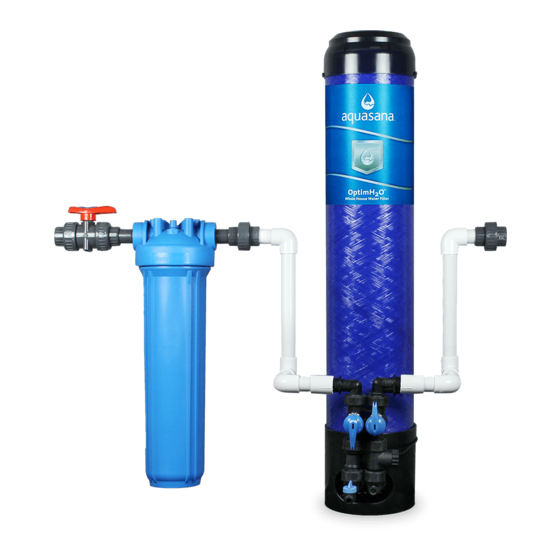
Aquasana OptimH2O AQ-RO-3 Manuale d'uso - Pagina 5
Sfoglia online o scarica il pdf Manuale d'uso per Sistemi di filtrazione dell'acqua Aquasana OptimH2O AQ-RO-3. Aquasana OptimH2O AQ-RO-3 16. Whole house water filter
Anche per Aquasana OptimH2O AQ-RO-3: Manuale d'uso (14 pagine), Manuale d'uso (11 pagine), Manuale d'uso (10 pagine)

2
• Some local codes may require the use of a licensed plumber or certified installer
when disrupting a potable water line.
• In areas with high pressure, a pressure relief valve and a water hammer arrestor
may be necessary.
• Do not use with water that is microbiologically unsafe or of unknown water quality
without adequate disinfection before or after the system.
Cleaning
The exterior of your filtration system can be cleaned with warm, soapy water. Rinse
well with fresh, clean water.
NOTE: Never use chemical cleaning products on the system's exterior surface as they
may damage the housing.
Specifications
This filter system is designed and tested for use with genuine Aquasana parts
including replacement filters and all hardware. Use of parts from other manufacturers
may result in loss of contaminant reduction performance, system damage or failure.
Use of parts from other manufacturers will also void your warranty. Please visit
aquasana.com for replacement parts.
A Pre-Filter is included with your system. Sediment levels vary from one location to
another. It is recommended to replace your Pre-Filter every 6 months. If the flow rate
has noticeably decreased, replace your filter cartridge sooner.
Model: EQ-OPTM
Replacement tank: EQ-OPTM-R
Additional Replacements:
20" Pre-Filter: EQ-OPTM-PRE-R
1
Select Location
1. Lay out system in appropriate configuration. Improper sequencing of
equipment will affect performance, and could possibly damage your system.
2. Pick an appropriate installation location. Unit must be installed in an area
where the main water line enters your home, and before it connects
to the water heater. It is recommended to install after any outdoor hose
bibs or irrigation lines to avoid using filtered water where not needed.
DO NOT install after the water heater or on the hot water line.
3. Turn off the main water source. Drain water from lines to relieve pressure
by turning on a faucet at the lowest elevation inside your home.
INSTALLATION STEPS
3
