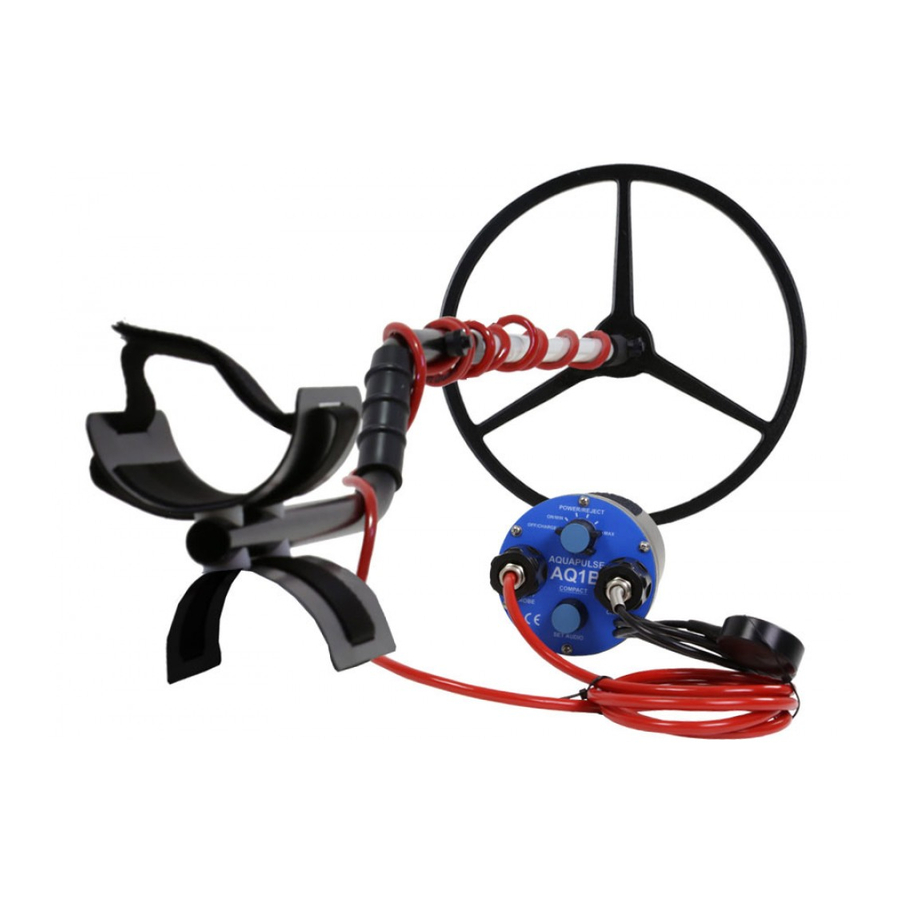
AQUASCAN INTERNATIONAL AQUAPULSE 1B Manuale di istruzioni per l'uso - Pagina 5
Sfoglia online o scarica il pdf Manuale di istruzioni per l'uso per Metal Detector AQUASCAN INTERNATIONAL AQUAPULSE 1B. AQUASCAN INTERNATIONAL AQUAPULSE 1B 18. Aquapulse 1bunderwater metal detector

AQ1B Underwater Metal Detector User Manual
6.
Test the operation of the detector by scanning the loop over metal objects e.g.
a coin, keys or any convenient metallic object. The audio note will rise rapidly
reaching a maximum pitch when the object is centred on the loop axis.
7.
An additional check can be made on a piece of buried metal. Scan the loop
from side to side and locate the position of maximum tone. Repeat in a
forward and backward direction. The point where the audio is at a maximum
on both scans is where the object lies.
8.
Check the detector on various sizes and shapes of both ferrous and non ferrous
metals to get 'feel' as to how it responds on different targets.
9.
The 'REJECT' control when set at its lowest setting will give maximum
sensitivity to small rings and thin section foils; as the setting is increased the
detector will 'reject' signals from silver paper, ring pulls and other unwanted
non ferrous objects.
10.
Having performed the above checks, switch off. The Aquapulse is now ready
for use on land or underwater.
UNDERWATER OPERATION
1.
The control unit of the detector can be worn or carried in a number of ways, the
choice will be influenced by which of the sense head variants is being utilised.
The most obvious choice is worn on the waist secured by the quick release
buckle, however if the 38cm (15") loop is being used the control unit can be
fitted to the lower cup of the "armsaver" section. Other options include strapping
to the upper arm, clipping to any suitable position on the diver or attached to a
container that may be used for collecting detected items. When the armsaver is
being used one of the small straps should retain the control unit, whilst the other
should act as a brace for the forearm in the upper cup.
The above image shows the control module attached to the armsaver
5
