AquaScape 78204 Istruzioni per l'installazione e la manutenzione - Pagina 4
Sfoglia online o scarica il pdf Istruzioni per l'installazione e la manutenzione per Fontana da esterno AquaScape 78204. AquaScape 78204 12.
Anche per AquaScape 78204: Istruzioni per l'installazione e la manutenzione (8 pagine)

Installation
INSTALL PLUMBING
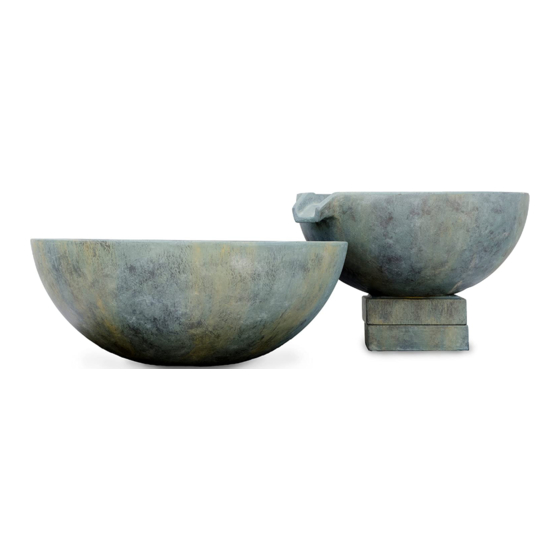
• The Spillway Bowl and Spillway Basin allows for either a
3/4" or 11/2" water inlet. The pre-installed bulkhead reducers
provide a 3/4" threaded connection at the bottom of the
fountain. If desired, the reducers
can be removed to expose a
11/2" threaded inlet, allowing
for higher flow rates with more
dramatic water flow.
• If a 3/4" inlet is desired, thread
the included multi-hose adapter
fitting (3/4", 1", 11/4") into the
reducer inlet at bottom of
fountain (Ex. 1).
• If a 11/2" inlet is desired, remove
the reducer fittings from the
inside and bottom of the
fountain (Ex. 2). Then, thread
a compatible 11/2" fitting (not
included) into the bottom of the
fountain.
TIP: If desired,
plumber's tape or
silicone (not included) can be used on fitting
threads to help provide a watertight connection.
INSTALL PIPE/TUBING
• Attach pipe/tubing (not included)
to the fitting installed at the
bottom of the fountain (Ex. 3).
A hose clamp (not included)
can be used to secure the
connection.
• If installing the Spillway Bowl
Stand, use the integrated
plumbing slot on the stand to
run the pipe to the underside of
the Spillway Bowl (Ex. 4).
TIP: In some instances
the pipe/tubing may
be tight or difficult to
connect to the fitting. If
this is the case, it is recommended
to heat the pipe with a hair dryer or
dip it for a few seconds in very hot
water. Lubrication such as silicone
grease or olive oil can also be used.
4
INSTALL LIGHTING (OPTIONAL)
• The Spillway Bowl and Spillway Basin provide the
option of installing low-voltage underwater lighting. It is
recommended to use the Aquascape 1-Watt Spotlight
(#84031) or 1-Watt Waterfall Light (#84032).
• If installing a light, remove the
pre-installed light chase plug
from the bottom of the fountain
(Ex. 5) and locate the rubber
light chase insert packaged with
the plumbing components.
• Feed the low-voltage light cable
through the light hole from the
top of the fountain until the light
Ex. 1
is set in the desired location.
• Insert the cable firmly into the
rubber light chase insert (Ex. 6).
Then, secure the rubber insert in
the light hole from the top
(Ex. 7).
• Run the light cable from the
bottom of the Spillway Bowl or
Spillway Basin to a compatible
Ex. 2
low-voltage transformer.
TIP: If desired, silicone
sealant (not included)
can be applied to help
provide a water-tight
seal.
CONNECT THE PUMP
• Connect the pipe/tubing to a
compatible pump (not included
Ex. 8). It is recommended to
use an Ultra 2000 Water Pump
or larger. A hose clamp (not
Ex. 3
included) can be used to secure
the connection.
INSTALL STANDPIPE
• The Spillway Bowl and Spillway
Basin each include a PVC standpipe and tee fitting to
prevent the feature from draining when the pump stops
and provide optimal water flow while in use.
• Install the standpipe by threading it into the fitting at the
Ex. 4
center of the fountain. The included standpipe is not
compatible with the expanded 11/2" water inlet. If desired,
a 11/2" diameter standpipe can be fabricated using
commonly available rigid PVC pipe.
☎
US (866)877-6637 |
☎
CAN (866)766-3426 | aquascapeinc.com
Ex. 5
Ex. 6
Ex. 7
Ex. 8
