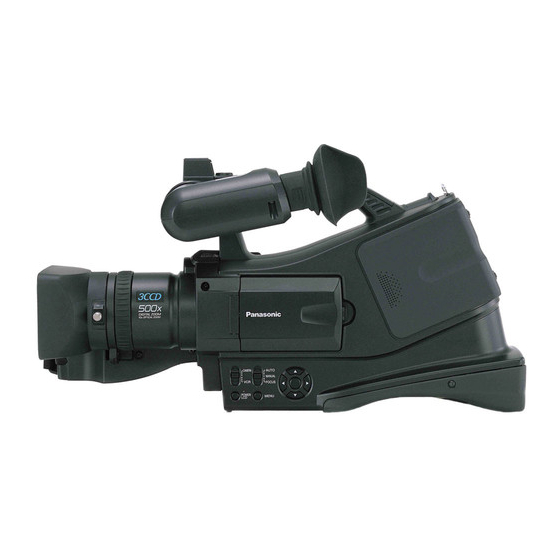
Panasonic AGDVC20P - 3 CCD DV CAMCORDER Manuale di istruzioni per l'uso - Pagina 14
Sfoglia online o scarica il pdf Manuale di istruzioni per l'uso per Videocamera Panasonic AGDVC20P - 3 CCD DV CAMCORDER. Panasonic AGDVC20P - 3 CCD DV CAMCORDER 40. Agmini-dv camera/recorder
Anche per Panasonic AGDVC20P - 3 CCD DV CAMCORDER: Manuale di istruzioni per l'uso (42 pagine), Manuale di istruzioni per l'uso (42 pagine)

DVC20_Eng.book 14 ページ 2005年10月31日 月曜日 午前10時36分
Setting date and time
If the screen shows the incorrect date/time, then adjust it.
≥Set to Tape Recording Mode.
1
Set [BASIC] >> [CLOCK SET] >> [YES].
2
Press the [2] or [1] button in order to select the item to
be set. Then press the [3] or [4] button to set the
desired value.
≥The year will change as follows:
2000, 2001, ..., 2089, 2000, ...
≥The 24-hour clock is used.
3
Press the [ENTER] button to determine the setting.
≥The clock function starts at [00] seconds.
ª
About date/time
≥The date and time function are driven by a built-in lithium
battery.
≥Make sure to check the time before recording because the
built-in clock is not very accurate.
ª
Recharging the built-in lithium battery
≥If [0] or [--] is indicated when the camera is turned on, then
the built-in lithium battery runs down. Connect the AC adapter
to the camera or place the battery on the camera, and the
built-in lithium battery will be recharged. Leave the camera as
is for approx. 24 hours, and the battery will drive the date and
time for approx. 6 months. (Even if the [OFF/ON] switch is set
to [OFF], the battery is still being recharged.)
14
Before using
Adjusting LCD monitor/viewfinder
ª
Adjusting the brightness and color level
1
Set [SETUP] >> [LCD SET] or [EVF SET] >> [YES].
2
Press the [3] or [4] button in order to select the item to
be adjusted.
[LCD SET]
:
Brightness of the LCD monitor
:
Color level of the LCD monitor
[EVF SET]
: Brightness of the viewfinder
EVF
3
Press the [2] or [1] button to move the bar indication
representing the brightness.
4
Press the [MENU] or [ENTER] button to complete the
settings.
≥In order to adjust the brightness of the viewfinder, close the
LCD monitor, and the viewfinder will be activated.
≥When the LCD monitor is rotated by 180° towards the lens,
the brightness of the LCD monitor cannot be adjusted.
≥These settings will not affect the images actually recorded.
ª
In order to increase the brightness of the entire
LCD monitor
1
Press the [POWER LCD] button.
POWER
LCD
≥The [POWER LCD] lamp lights up.
≥If the [POWER LCD] button is pressed, the entire LCD
monitor will become approx. twice as bright as the normal.
≥Press this button again, and the lamp will go off and the
brightness will revert back to the original brightness.
≥This will not affect the images to be recorded.
≥If you turn on the camera when the AC adapter is used, the
[POWER LCD] function will not be activated.
