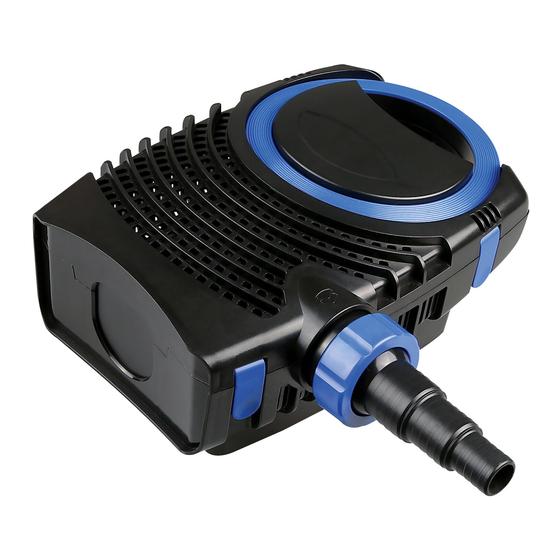
Aquatec 02AD960 Manuale di istruzioni - Pagina 4
Sfoglia online o scarica il pdf Manuale di istruzioni per Pompa dell'acqua Aquatec 02AD960. Aquatec 02AD960 8. Submersible filtration & waterfall pump

PRODUCT SPECIFIC SAFEGUARDS
• Do not operate the pump without water at any time, permanent damage may occur.
• Be sure the equipment is submerged completely in the water. The depth should not be greater than 2m. Do not use
this pump in a dry mounted application.
• The pump is designed to be used in a Fresh water Garden pond. It is not to be used in any other manner or purpose.
The pump should only be used in clean water. Do not use the pump in, or with, any chemicals such as a solvent or
gasoline.
• AQUAPRO Filtration & Waterfall Pumps are cooled by water flowing through the inside of the motor body. If the
pump flow becomes restricted it will overheat and could cause permanent damage. Large tubing size is strongly
recommended to deliver adequate water flow to cool the pump. The pump needs to be cleaned regularly to prevent
the pump becoming blocked, thus causing the pump to overheat and burn out. This is not a warrantable event. It is
strongly recommended not to select a pump that is too small for the Job required. The flow rate through the pump
needs to be strong enough so that a half of the rated max flow is kept running at all times.
INSTALLATION - FILTER & WATERFALL PLUMBING GUIDE
When used to supply water to a Biological filter, cascade, waterfall, ect; where a pipe is needed to be used, use the
hose tails supplied in the package. For best results, use the tubing size recommended in the table under specifications
at the beginning of this manual. Bigger tube size is always better depending on the pump flow rate, select the hose tail
requiered for your tubing size and evaluate whitch step on the hosetail will be used. If you are using 32mm hose and you
are connecting it to the 40mm\32mm\25mm hosetail supplied, remember to saw off the smaller size connection (I.E.:
25mm step). Otherwise it will create a unnessary restriction in the plumbing system.
A omni-directional ball joint is provided for your convenence when used under water. Select the hosetail. Locate the
O'ring washer and the locking nut of the hosetail. Slide the O'ring, then the locking nut over the hosetail, connect the
threaded locking nut to the hosetail and screw in firmly. Now connect the addaptor to the pump out let.
Now connect the turbing to the hose tail. Remember to use Stainless Stell hose clamps to fasten the hose on to the
hosetail. This is to ensure that the pipe does not blow off at a later time or leak at this point in the plumbing system.
Direct the hose in your desired direction. Connect tubing to the outlet.
Place the pump in desired location. Ensure the pump is on a stable surface that is free of sludge, sand and other debris.
Do not place the pump directly on the pond floor or in mud. It is recommended to place the pump on a raised surface.
CLEANING
Begin by ensuring that the mains power supply is disconnected before attempting any maintenance or adjustment of the
unit or the water body. Remove the unit from the water. If your unit is connected to a filter, the filters and sponges will
clog up over time. Please clean regularly (at least once a month) to ensure strong water flow. Failure to maintain the unit
will result in a burnt out motor and other damage.
All AQUAPRO Filtration & Waterfall Pumps are water cooled, if pump becomes restricted, or blocked, it will overheat and
could cause permanent damage. When the flow starts to be reduced, check and clean if necessary.
The motor unit of the pump is encapsulated with epoxy resin and does not need lubrication. Regular inspections, cleaning
and maintenance of impellor is necessary to ensure longer life. In the centre of the impellor you may notice a small whole
opening that protrudes through the ceramic shaft from front to back. It is paramount that this portal is kept unblocked at
all times. This is a cooling channel for the motor.
Start by disconnecting the tubing from the
pump. Then unclip top section of the filter
cage from off the bottom using the four
lid clips in the direction as indicated by the
arrow, and then lift it off.
AQP 3100_6100DW Instructions.indd 4
A Q U A T E C E Q U I P M E N T . C O M
10/10/16 9:29 am
