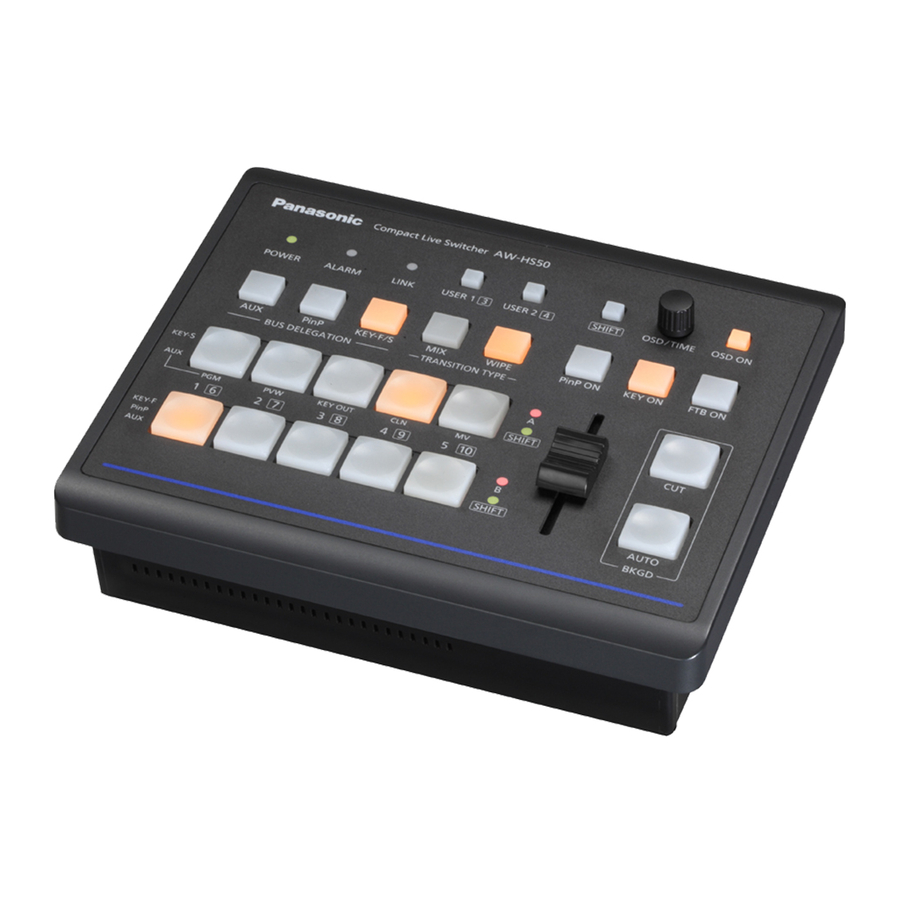
Panasonic AW-HS50 Series Manuale di avvio rapido
Sfoglia online o scarica il pdf Manuale di avvio rapido per Fotocamera digitale Panasonic AW-HS50 Series. Panasonic AW-HS50 Series 4. Combining pinp
Anche per Panasonic AW-HS50 Series: Manuale (20 pagine), Opuscolo e specifiche (4 pagine), Manuale (4 pagine), Manuale (2 pagine), Manuale di avvio rapido (6 pagine)

AW-HS50 – Basic Operations & Troubleshooting
★ This is to explain AW-HS50 switcher's basic setup and how to deal with problems (e.g. no image output) when they
occur.
BUS DELEGATION buttons
A bus crosspoint buttons
B bus crosspoint buttons
■ Display of Menu Screen (OSD: On-Screen Display)
The menu screen is displayed by holding down OSD ON button – (Figure 1). It is superimposed on the image output
from SDI OUT 2 connector and DVI OUT connector.
(To clear the menu, hold down OSD ON button again.) * The menu screen is not output from SDI OUT 1 connector.
Turn OSD dial to select the setting, and press the dial to enter the selection. The setting value can be varied by turning
the dial while the value is blinking.
■ Settings for Crosspoint
A source is selected by pressing one of A bus or B bus crosspoint buttons. It is the signal which has been set in
advance using the menu, and called up as the source.
Assignment to the crosspoint buttons is carried out using the menu: [9] XPT SW Assign Menu – (Figure 2).
By factory default, pressing the crosspoint button 1 will make the unit call up the source input into "SDI-IN1".
If XPT6 – XPT10 need to be called up, press the crosspoint buttons while SHIFT button is held down.
(Figure 2: Menu Screen for [9] XPT SW Assign Menu *factory default)
(Figure 1: AW-HS50 Control Panel)
SHIFT button
OSD ON button
ON
OSD dial
ON
FTB ON button
ON
