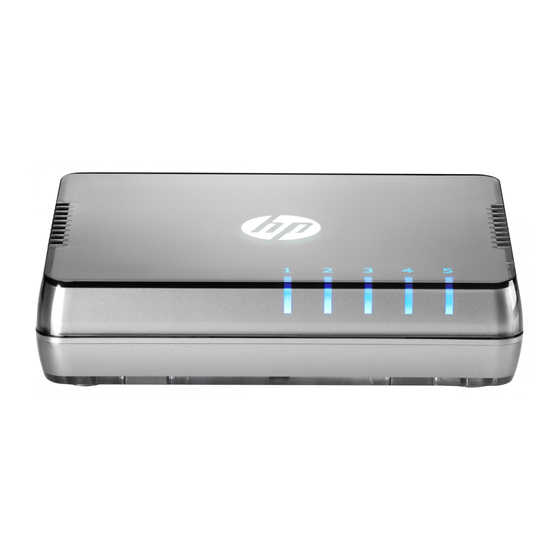
HP 1405-5G Manuale di installazione e messa in funzione - Pagina 28
Sfoglia online o scarica il pdf Manuale di installazione e messa in funzione per Interruttore HP 1405-5G. HP 1405-5G 44. 1405 switch series
Anche per HP 1405-5G: Manuale di avvio rapido (16 pagine), Manuale di installazione e messa in funzione (45 pagine)

Troubleshooting
Diagnosing with the LEDs
Tip
Problem
➊
The switch is not
plugged into an
active AC power
source, or the
switch's power
supply may have
failed.
➋
The network
connection is not
working
properly.
3-4
Diagnostic Tips:
1. Verify the power cord is plugged into an active power source and to the switch. Make
sure these connections are snug.
2. Try power cycling the switch by unplugging and plugging the power cord back in.
3. If the Power LED is still not on, verify the AC power source works by plugging another
device into the outlet. Or try plugging the switch into a different outlet or try a different
power cord.
If the power source and power cord are OK and this condition persists, the switch power
supply may have failed. Call your HP networking authorized network reseller, or use the
electronic support services from HP to get assistance. For software license, warranty,
and support information, visit www.hp.com/networking/support.
Try the following procedures:
• For the indicated port, verify that both ends of the cabling, at the switch and the
connected device, are connected properly.
• Verify the connected device and switch are both powered on and operating correctly.
• Verify you have used the correct cable type for the connection:
– For twisted-pair connections to the fixed 10/100/1000 ports, either straight-through
or cross-over cables can be used because of the switch's "Auto-MDIX" feature
and the Auto MDI/MDI-X feature of the 10/100/1000-T port.
• For 1000Base-T connections, verify the network cabling complies with the IEEE 802.3ab
standard. The cable should be installed according to the ANSI/TIA/EIA-568-A-5
specifications. Cable testing should comply with the stated limitations for Attenuation,
Near-End Crosstalk, Far-End Crosstalk, Equal-Level Far-End Crosstalk (ELFEXT),
Multiple Disturber ELFEXT, and Return Loss.
The cable verification process must include all patch cables from any end devices,
including the switch, to any patch panels in the cabling path.
• Verify the switch port configuration of the attached device. All switch ports are
configured as "Auto", so ports on the attached device also MUST be configured as
"Auto". Depending on the port type, twisted-pair or fiber-optic, if the configurations
do not match, the results could be a very unreliable connection, or no link at all.
• If the other procedures don't resolve the problem, try using a different port or a different
cable.
Solution
