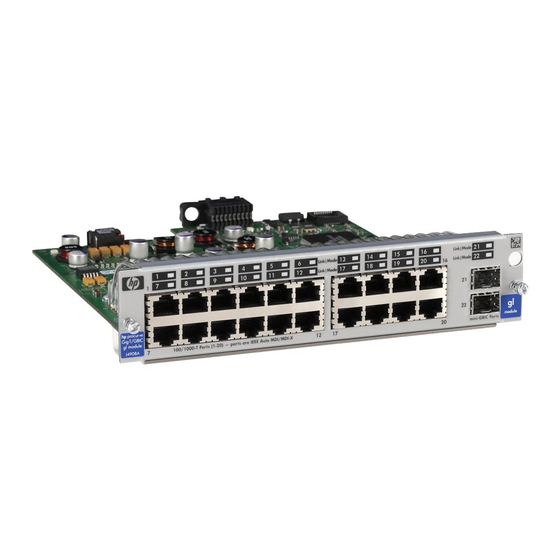
HP ProCurve J4863A Manuale di installazione - Pagina 11
Sfoglia online o scarica il pdf Manuale di installazione per Interruttore HP ProCurve J4863A. HP ProCurve J4863A 38. Switch gl modules
Anche per HP ProCurve J4863A: Manuale di installazione (36 pagine), Opuscolo (17 pagine)

Installing the gl Modules
N o t e
N o t e
4
Installing the gl Modules
Overview
You can install any of the gl modules into any of the HP ProCurve switches
that have a compatible module slot. As of this printing, those are the HP
ProCurve Series 4100gl Switches:
4108gl (p/n J4865A)
■
4108gl Bundle (p/n J4861A)
■
■
4104gl (p/n J4887A)
4140gl (p/n J8151A)
■
■
4148gl (p/n J4888A) -- a 4104gl bundle
4160gl (p/n J8152A)
■
You can install the modules into the switch either with the switch powered on
or off. The following procedures assume the switch is powered on.
1.
Install the modules in a switch slot (see
If you have installed any modules into slots that were previously occupied
by a different type module, the status LED for the slot will be flashing
indicating that you must reset the switch (see
2. If you are using the Gigabit Transceiver gl Module or the mini-GBIC gl
Module, you can install the transceivers or mini-GBICs in the appropriate
module before or after installing that module into the switch.
The HP ProCurve transceivers and mini-GBICs can be "hot swapped". That is,
they can be installed or removed after the gl Module is installed in the switch
and receiving power.
Please see the Installation Guide that came with the transceivers for more
information on installing the transceivers. The information for using the
mini-GBICs is included in this manual (see
3.
Verify the modules are installed correctly (see
4.
Connect the network cabling (see
5. Optionally, customize the configuration for the modules' ports (unless the
default port configuration is satisfactory for your network application -
see
page
13).
If necessary, you can "hot-swap" one module for another; that is, replace one
module with another while the switch is still powered on, without interrupting
the operation of the rest of the switch ports. For more information, see
page
5).
page
16).
page
7).
page
8).
page
9).
page
15.
