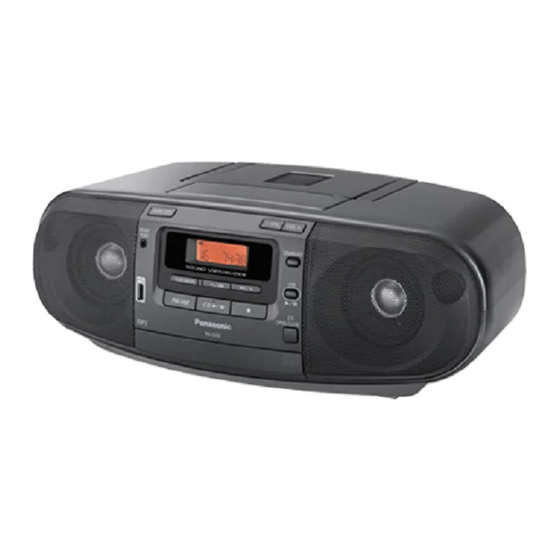
Panasonic RX-D48 Manuale di istruzioni per l'uso - Pagina 7
Sfoglia online o scarica il pdf Manuale di istruzioni per l'uso per Impianto stereo Panasonic RX-D48. Panasonic RX-D48 24. Portable stereo cd system

Cassette tape
Basic play
Use normal position tapes.
High position and metal position tapes can be played, but the unit will not be able
to identify the characteristics of these tapes.
1
Press [TAPE/OFF].
2
Open the cassette operation buttons' lid.
3
Press [8/x, STOP/EJECT] and insert the cassette.
Insert with the side to be played facing up and the exposed tape facing
towards you. Close the deck by hand.
4
Press [4, PLAY] to start play.
Stop tape playback
Press [8/x, STOP/EJECT].
Pause play
Press [9, PAUSE].
Press again to resume play.
Fast-forward and
Press [3, REW/REV] or [5, FF/CUE] in the stop
rewind
mode.
Search for a specific
Press [3, REW/REV] (to search backward) or
point
[5, FF/CUE] (to search forward) during playback.
Play is resumed when the button is released.
Recording
Use normal position tapes.
High position and metal position tapes can be used, but the unit will not be able to
record or erase them correctly.
Preparation
Wind up the source tape so recording can begin immediately.
1
Press [0, STOP/EJECT] and insert the cassette to be recorded.
Insert with the side to be recorded facing up and the exposed tape facing
towards you.
2
Select the source to be recorded.
Disc
1. Insert the disc you want to record.
Press [CD 4/9] and then [8].
2. Prepare the desired disc recording mode.
Record programmed tracks
Program the tracks you want (Z page 5).
Record specific albums or tracks
Press [PLAY MODE] to select the desired mode
(Z page 5).
Radio
Tune in the station (Z page 6).
1. Prepare the USB mass storage device for recording
USB
RX-D53
(Z page 6).
2. Press [2/3] or [5/6] (main unit: [–/2]
or [6/+]) to select the desired track for recording.
Music port
Select music port (Z page 8).
3
Press [ V
] to start recording.
Stop recording
Press [8/x, STOP/EJECT].
Turn the cassette over and press [ V
Record on the other
side of the tape
Erase a recorded
1. Press [TAPE/OFF].
sound
2. Insert the recorded cassette.
3. Press [ V
Note:
Changes to volume and sound quality do not affect recording.
Erasure prevention
The illustration shows how to remove the tabs to prevent recording. To record on
the tape again, cover as shown.
To prevent recording
Side A
Tab for Side B
Tab for Side A
Note:
• Tapes exceeding 100 minutes are thin and can break or get caught in the
mechanism.
• Tape slack can get caught up in the mechanism and should be wound up before
the tape is played.
• Endless tapes can get caught up in the deck's moving parts if used incorrectly.
].
].
To re-record
Adhesive tape
Clock and timers
Setting the clock
This is a 24-hour clock.
1
Press [CLOCK/TIMER].
Each time you press the button:
CLOCK
Original display
2
Within 5 seconds or so
Press [2/3] or [5/6] to set the time.
Holding down the button will speed up the time selection.
3
Press [CLOCK/TIMER] to finish setting the time.
Displaying the clock
Press [CLOCK/TIMER] to display the clock for few seconds.
Note:
• Reset the clock regularly to maintain accuracy.
• When the unit is in standby mode and it is powered by batteries, clock will not
be displayed.
Using the play timer
You can set the timer to come on at a certain time to wake you up.
Preparation
• Turn the unit on and set the clock.
• Prepare the music source you want to listen to; disc, radio, USB (
or music port source, and set the volume.
1
Press [CLOCK/TIMER] repeatedly to select the play timer.
2
Within 5 seconds or so
Press [2/3] or [5/6] to set the
starting time.
3
Press [CLOCK/TIMER] to confirm.
4
Repeat steps 2 and 3 to set the finishing
time.
To activate the timer
5
Press [# PLAY] to turn on the timer.
# PLAY
6
Press [TAPE/OFF] to turn off the unit.
Change the
Repeat steps 1 to 4 and 6 (Z see above).
settings
Change the source
1. Press [# PLAY] to clear the timer indicator from the
or volume
display.
2. Make changes to the source or volume.
3. Perform steps 5 and 6 (Z see above).
Check the settings
Press [CLOCK/TIMER] repeatedly to select "# PLAY"
(when the unit is on
(there is no display when the unit is powered by
or in standby mode)
batteries and is in standby mode).
Cancel
Press [# PLAY] to clear the timer indicator from the
display.
Note:
• The play timer will start at the preset time, with the volume increasing gradually
to the preset level.
• The timer comes on at the set time every day if the timer is on.
• The unit must be in the standby mode for the timer to function.
• If you turn the unit off and on again while a timer is functioning, the finish time
setting will not be activated.
Using the sleep timer
This function enables you to turn off the unit automatically after the set time except
in tape mode.
Press [SLEEP] repeatedly to select your desired time (in minutes).
To cancel
Press [SLEEP] repeatedly to select "OFF".
Changing the remaining time
Press [SLEEP] to show the remaining time, and press [SLEEP] again to select
your desired time.
Note:
• The play and sleep timer can be used together.
• The sleep timer always has priority. Be sure not to overlap timer settings.
# PLAY ON
only)
RX-D53
No display (off)
7
7
7
