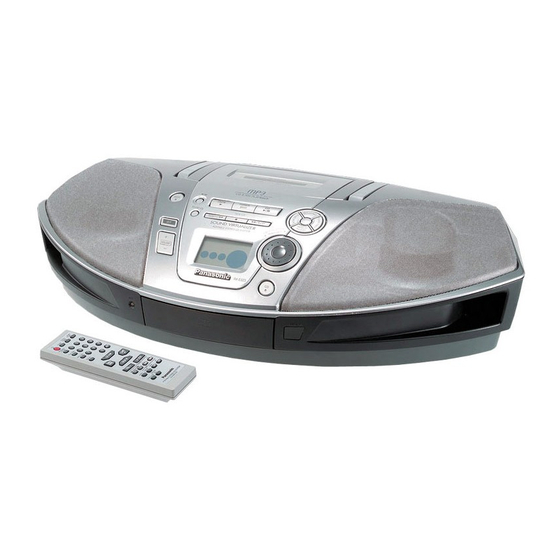
Panasonic RX-ES29 Manuale di istruzioni per l'uso - Pagina 7
Sfoglia online o scarica il pdf Manuale di istruzioni per l'uso per Impianto stereo Panasonic RX-ES29. Panasonic RX-ES29 29. Portable stereo cd system
Anche per Panasonic RX-ES29: Manuale di istruzioni per l'uso (16 pagine), Manuale di istruzioni per l'uso (18 pagine)

The Radio
Preparation:
≥
When using batteries, press
≥
Press [TUNER BAND] to select "FM" or "AM".
Manual tuning
[1] Press [REW/–/
6
] or [
5
To tune automatically
Press and hold [REW/–/6] or [5/+/FF] until the
frequency starts changing rapidly.
≥ Auto tuning may be interrupted when there is excessive
interference.
≥ To cancel auto tuning, press [REW/–/6] or [5/+/FF]
once again.
[2] Press [+, – VOLUME] to adjust volume.
To use auto scan
You can search for a station by listening to all tuned-in stations
for 8 seconds each.
[1] Press [AUTO SCAN].
[2] Press [AUTO SCAN] when you find the desired station.
Auto scan ends when it reaches the original frequency again.
To stop during the process, press [AUTO SCAN].
To improve FM sound quality
Press [PLAY MODE] to display "
Monaural sound is selected and noise reduces when reception is weak.
Press [PLAY MODE] again to cancel the mode.
≥
To improve reception
FM : Change the length and direction of the antenna.
AM : Change the facing of the unit.
FM
≥ AM reception is briefly interrupted if [< DECK] is pressed.
≥ To improve reception when using the unit in a building or
vehicle, place it near a window.
AM allocation setting
Only from the main unit
Before receiving AM broadcasts, be sure to select the correct
allocation setting (either 9 kHz or 10 kHz) for your area.
1 Press [TUNER BAND] to select FM.
[
]
.
/+/FF] to select a station.
".
AM
2 Press and hold [TUNER BAND] for approximately 5 seconds.
The frequency display will be returned to the minimum frequency
of the AM band and the display will begin to flash. Keep holding
for approximately 5 more seconds.
3 When the display stops flashing and indicates a
different frequency number, release [TUNER BAND].
To return to the original frequency, repeat steps 1 to 3 above.
Note:
≥
After changing the "allocation" setting, the frequencies you
previously preset into the memory will be cleared.
Preset tuning
Up to 16 stations can be set in the FM and AM band.
[1] Press [REW/–/
6
] or [
required station.
[2] Press [ MEMORY CLEAR].
[3] While "
" is flashing
Turn [TIME/PRESET TUNE
the channel and press [ MEMORY CLEAR] or on remote
control, press the numeric buttons to select channels.
≥ For channels 1 to 9, press the corresponding number.
≥ For channels 10 to 16, press [S10], then the two digits.
" goes off during presetting, return to step [1].
If "
To select channels
Turn [TIME/PRESET TUNE
select the channel or on remote control, press the
numeric buttons to select channels.
To use preset scan
You can search for a station by listening to all preset channels
for 8 seconds each.
[1] Press and hold [C
: ALBUM] or [ALBUM 9
D] until "PS" appears on the display.
/
: ALBUM] or [ALBUM 9
[2] Press [C
/
you find the desired channel.
Preset scan ends after searching through each preset channel
once. To stop during the process, press [C/: ALBUM] or
[ALBUM 9/D].
To skip the preset channel,
1 Select the desired station.
2 Press [ MEMORY CLEAR].
3 While "
" is flashing
Turn [TIME/PRESET TUNE
4 Press [ MEMORY CLEAR].
To select the skipped channel,
Press the numeric buttons.
5
/+/ FF] to tune to the
TRACK SKIP
] to select
TRACK SKIP
] to
D] when
/
TRACK SKIP
] to display "– –".
/
7
RQT7914
