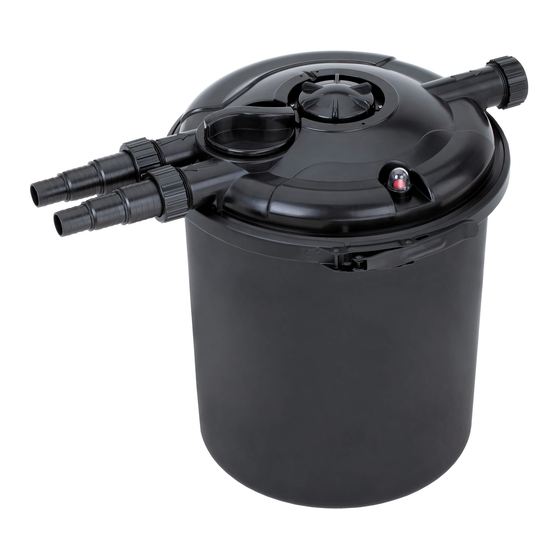
EasyPro Eco-Clear EC2600U Istruzioni per l'uso, sicurezza e garanzia - Pagina 7
Sfoglia online o scarica il pdf Istruzioni per l'uso, sicurezza e garanzia per Sistemi di filtrazione dell'acqua EasyPro Eco-Clear EC2600U. EasyPro Eco-Clear EC2600U 12. Eco-clear pressurized filters
Anche per EasyPro Eco-Clear EC2600U: Istruzioni per l'uso, sicurezza e garanzia (8 pagine)

UV Quartz Sleeve Replacement
1. Unplug the UV unit and the pump.
2. Remove thumbscrew from clear lid on top of unit.
Remove the clear lid. TIP: Use it to hold the various
screws during the process.
3. Remove the two screws and the plastic cord retainer clip.
4. Remove the three screws that hold the UV lamp
assembly in the unit. Take care not to lose any of the
screws during this process.
5. Remove the UV assembly from the unit and carefully set
it aside being careful not to touch the UV lamp. If you
are replacing the UV lamp, follow the instructions above.
6. Remove remaining three screws and the UV Sleeve
assembly from the unit
7. Be sure to use caution as the quartz sleeve is glass
and can break. If the sleeve is broken use proper
protection for your hands and eyes while cleaning
glass from the filter.
8. If you are cleaning the sleeve do so at this point. Be sure
to inspect the gasket is in good shape and skip to Step
10 to reinstall the sleeve once cleaned.
9. To replace the sleeve with a new one, you may need
to remove the interior cap by removing three screws
and transferring it to the new sleeve. The stem on this
section activates the micro switch on the UV starter.
10. Once the presence of the interior cap is verified on
the new sleeve assembly, install the new gasket and
sleeve assembly into filter unit. Be sure to align the
holes properly to receive the screws. Also, be sure
the sleeve is positioned correctly with the small arrow
pointing toward the front of the filter. Verify the stem
on the interior cap is in the correct position.
11. Secure the sleeve with three screws as shown.
13. Carefully replace the UV assembly into the filter. Be sure it is seated properly and secure
with three screws.
14. Reattach the cord retainer clip with the two screws.
15. Replace the clear top cover and secure with thumbscrew.
16. Return the unit back to service.
7
Step 4
Steps 6, 11
Step 9
