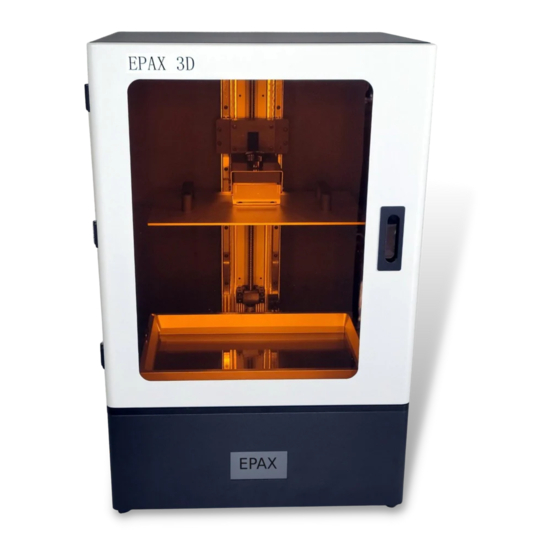
EPAX E10 4K Manuale d'uso - Pagina 13
Sfoglia online o scarica il pdf Manuale d'uso per Stampanti 3D EPAX E10 4K. EPAX E10 4K 20. Lcd resin

3.
Slicing and Saving the files
Once you are done setting up the file and getting the settings correct in your slicer, you should
now Slice the file. Slicing the file will create a .ctb or .cbddlp file, which you can then save to the USB
stick and it is ready for printing. This is the process that creates the individual layers on a print. If you
attempt to slice a file that is already sliced, you may end up with a non-working file. Note that most of
our printers use the .ctb file format exclusively. If you are unsure of which file format you should use,
please refer to the tables in Section I.
Here are some tips:
-
Make sure not to remove the USB until your file is completely exported. If ejected before
being 100% saved, your model will be incomplete when printed.
-
We have test prints available on our website if you would like to run one before trying your
own models.
4.
Ethernet/Network Printing
If you find that utilizing the USB
stick to print is too inconvenient, you may
also opt to remotely send prints via the
network feature. To set this up, connect
your printer with an ethernet cable to your wireless router. Now go to network and toggle on ethernet.
Wi-Fi shows up as an option, but there is no Wi-Fi adapter in the printer. An IP address will then fill in
and a green LED should now be illuminated where the cable is plugged in. Plug in the USB as you will
need the storage for the prints to be received by the printer.
Load the latest version of ChiTuBox, and slice a file. You will be
presented with the option to save or send the file to the network. Select
"Network Sending," and you should see all of the EPAX printers that are
connected to your network. If this is your first time, you may need to
select the refresh icon.
www.epax3d.com
https://epax3d.com/pages/slicer-settings-chitubox
12
