EPC 611 Come iniziare - Pagina 12
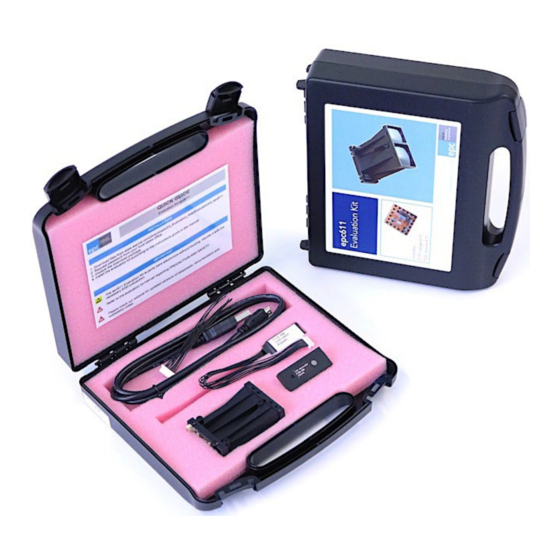
Sfoglia online o scarica il pdf Come iniziare per Scheda madre EPC 611. EPC 611 15. Evaluation kit
Ihr autorisierter Distributor
5. GUI functionality
5.1. Start the GUI software
Note:
First, after installation of a new software release, read the README and CHANGELOG files of the download package to get latest evalua -
tion kit information.
After starting the "ESPROS_TOF-imager_GUI_611" application file, the software connects automatically to the device. The corresponding
control window of the Graphical User Interface (GUI) appears.
Figure 19: Control window after startup for TOF>range 611
The GUI consists of different windows: The control window is on top, the corresponding display windows are on a lower level. The control
window is used to set parameters, choose the way of displaying the camera data or images and to log data. It consists of two sections: Left
is the dock with the Apps and right is the control section.
Most of the functions are self-explanatory and are not described here. However, some tool tip windows support the usage.
5.2. Operate the sensors
Press the "Start" button. You get get the main data window:
Figure 21: Main data window for TOF>range 611
5.3. Special functions TOF>frame 611
Figure 23: Surface plot distance and amplitude
© 2018 ESPROS Photonics Corporation
Characteristics subject to change without notice
Neumüller Elektronik GmbH | Gewerbegebiet Ost 7 | 91085 Weisendorf | +49 9135 73666-0 | www.neumueller.com | [email protected]
Neumüller Elektronik GmbH
Figure 20: Control window after startup for TOF>frame 611
Figure 22: Main data window for TOF>frame 611
Figure 24: Bar graph plot distance and amplitude
12 / 15
Manual_epc611_Evalkit-V1.01
www.espros.com