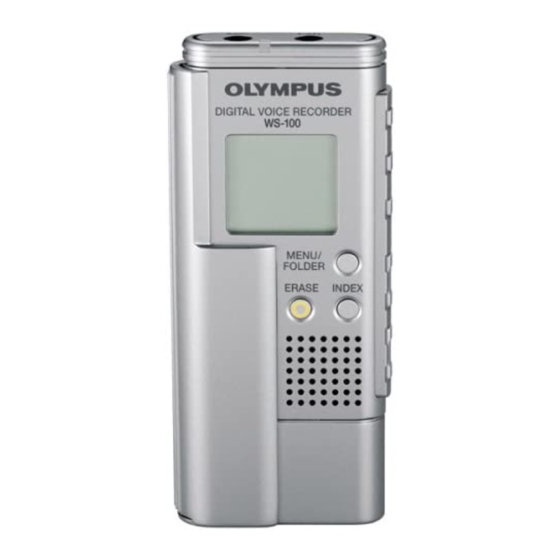
Olympus DIGITAL VOICE RECORDER WS-200S Manuale di istruzioni - Pagina 8
Sfoglia online o scarica il pdf Manuale di istruzioni per Registratore vocale Olympus DIGITAL VOICE RECORDER WS-200S. Olympus DIGITAL VOICE RECORDER WS-200S 10. Ws-100 instrucciones (español)
Anche per Olympus DIGITAL VOICE RECORDER WS-200S: Istruzioni (2 pagine), Istruzioni per l'uso (2 pagine), (Inglese) Istruzioni (2 pagine)

• Microphone Sensitivity (MIC)
Microphone sensitivity is adjustable to meet your recording needs.
In Menu mode selection... HI, LO
HI:
High-sensitivity mode that records sounds in all directions.
LO: Low-sensitivity mode suited for dictation.
• To ensure successful recording, make a test recording to choose appropriate
microphone sensitivity before recording.
• If you choose "HI", we recommend setting the recording mode to frsTiftHQ or
HQ to best take advantage of the higher sensitivity.
• If you choose "HI", background noise may be high depending on the recording conditions.
• Locking Files (LOCK)
Locking a file keeps important data from being accidentally erased.
Locked files are not erased when you choose to erase all files from a folder.
In Menu mode selection... On, OFF
On:
Locks the file and prevents it from being erased.
OFF: Unlocks the file and allows it to be erased.
• Formatting the Recorder (FORMAT)
If you format the recorder, all function settings will return to their defaults.
All files stored in the recorder will be deleted.
If you have important files that you want to save, connect the recorder to a computer and
transfer those files from the recorder to the computer before formatting the device.
1 Press the MENU button.
2 Press the FF or REW button to choose "FORMAT".
3 When the PLAY button is pressed, "nO" is displayed.
4 Press FF or REW to select "yES", and press the
PLAY button.
After "ARE yOU SURE" is displayed, "nO" will be displayed.
5 Press FF or REW to select "yES", and press the
PLAY button.
"DONE" displays when formatting ends.
• It may take up to several tens of seconds to finish the initialization. Do not remove the battery or detach
the battery compartment from the recorder during that time. Otherwise data may be damaged.
• Never format the recorder from a PC.
• When the recorder is formatted, all the stored data, including locked files, are erased.
• Continuous Playback (All PLAY)
This function allows you to listen to all your recordings of one folder in
one go without any stop between the files.
In Menu mode selection... On, OFF
On:
Continuous playback.
OFF: Returns to normal playback mode.
• After the last file in the folder plays, "END" appears on the screen and playback
stops automatically.
• System Sounds (bEEP)
The recorder beeps to alert you to button operations or warn you of
errors. System sounds may be turned off.
In Menu mode selection... On, OFF
• Using The Variable Control Voice Actuator (VCVA)
When the microphone senses that sounds have reached a preset
volume, the built-in Variable Control Voice Actuator (VCVA) starts
recording automatically, and stops it when the volume drops.
Particularly helpful for extended recording, the VCVA not only conserves
memory by turning off recording during silent periods, but also makes
playback more efficient and convenient.
In Menu mode selection... On, OFF
• Using the FF and REW buttons, the VCVA level can be adjusted in 15 levels.
• The recording/playing lamp is lit during recording. When the recorder is in Standby
mode, the recording/playing lamp flashes and "VCVA" flashes on the display.
- 8 -
Microphone
sensitivity display
Erase lock indicator
VCVA indicator
