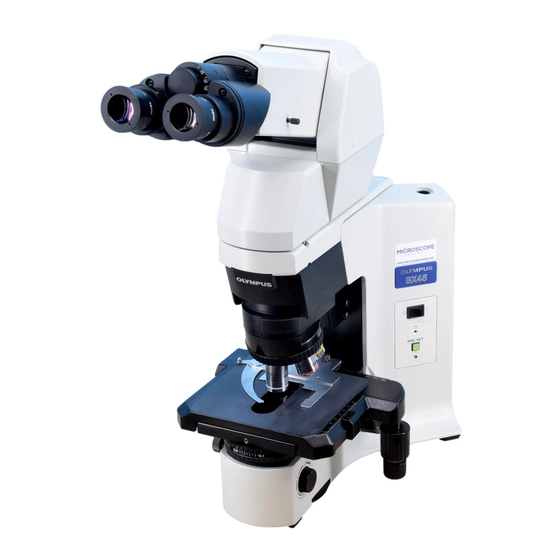
Olympus BX45 Manuale di istruzioni - Pagina 22
Sfoglia online o scarica il pdf Manuale di istruzioni per Microscope Olympus BX45. Olympus BX45 40.

3-8 Marker (U-MARKER)
²
OBSERVATION METHODS
}This chapter describes the observation methods other than the transmitted light brightfield observation.
4-1 Transmitted Light Phase Contrast Observation
²
@
|
³
...
18
@
Fig. 30
Fig. 31
ƒ
³
Fig. 32
}Mounting the marker @ on a 10X objective allows you to mark the de-
sired positions with a simple, one-touch operation.
Marking can be controlled by either the left or right hand, depending on
how the marker is installed.
(For details, refer to the Instruction Manual.)
}If you want objectives for cytological observation, please purchase the
PlanN10XCY and PlanN series objectives or the PlanFLN10XCY and
UPlanFLN series objectives.
}When 10X and 40X objectives are switched alternately for observation,
brightness adjustment after switching the objectives becomes unneces-
sary if the PlanN10XCY or PlanFLN10XCY (ND filter built-in type) is used
because the same observation brightness is achieved at 10X and 40X.
However, with high-contrast specimens, ghosting is likely to occur due to
the characteristeics of the ND filter.
# To prevent the pen tip of the marker from drying up, always attach
the exclusive cap ² on the pen tip whenever it is not used.
1
Mounting the Optical Device (PH Ring)
1. Loosen the turret clamping screw @ with the Allen screwdriver, and pull
out the turret ².
2. Insert the two centering screws ³ (common use with the condenser
centration) into the optical device centering thread holes and turn the
centering screws counterclockwise.
3. Insert the optical device into the mount hole by applying pressure onto
the plate spring ƒ with the PH ring |.
4. Turn the centering knobs ³ clockwise for an optimum tightness for stabi-
lizing the optical device.
5. Attach the seal provided with the optical device to the sealing position ....
6. If you want to insert a PH ring in another hole, perform steps 2 to 5 above.
7. Remove the centering knobs ³ and place the turret in the original posi-
tion.
(Insert the turret in the direction of the arrow on the dovetail.)
(Figs. 31 & 32)
