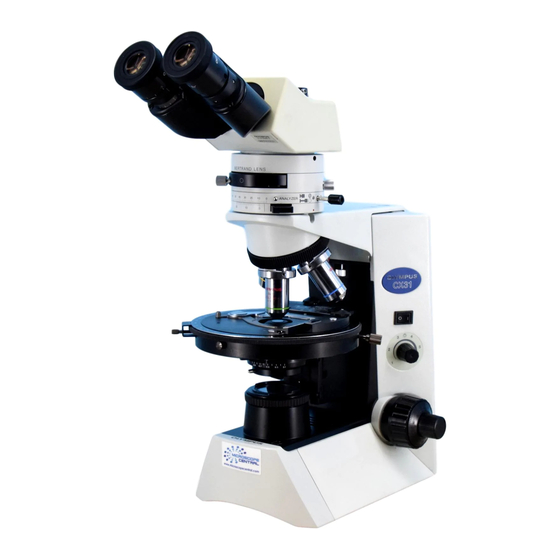
Olympus CX31-P Manuale di istruzioni - Pagina 6
Sfoglia online o scarica il pdf Manuale di istruzioni per Microscope Olympus CX31-P. Olympus CX31-P 36. Polarizing microscope

Warning Label
A warning indication label is attached to every part where special precaution is required when handling and using the
microscope. Always heed the warnings.
Warning label position
If the warning label is stained or peeled off, contact Olympus.
1
Getting Ready
1
2
Maintenance and Storage
1. Clean all glass components by wiping gently with gauze. To remove fingerprints or oil smudges, wipe with gauze slightly
moistened with a mixture of ether (70%) and alcohol (30%).
Since solvents such as ether and alcohol are highly flammable, they must be handled carefully. Be sure to keep
these chemicals away from open flames or potential sources of electrical sparks –– for example, electrical
equipment that is being switched on or off. Also remember to always use these chemicals only in a well-
ventilated room.
2. Do not attempt to use organic solvents to clean the microscope components other than the glass components. To clean
them, use a lint-free, soft cloth slightly moistened with a diluted neutral detergent.
3. Do not disassemble any part of the microscope as this could result in malfunction or reduced performance.
4. When not using the microscope, ensure that the frame is cooled down and store it in a dry locker or cover it with
a dust cover.
2
Bottom of microscope frame
2
Fig. 2
Warning against high tempera-
ture in lamp bulb replacement
1. A microscope is a precision instrument. Handle it with care and avoid
subjecting it to sudden or severe impact.
2. Do not use the microscope where it is subjected to direct sunlight, high
temperature and humidity, dust or vibrations. (For the operating condi-
tions, see chapter 6, "SPECIFICATIONS" on page 19.)
3. Always use the tension adjustment ring to adjust the rotation tension of
the coarse adjustment knob.
4. The microscope is ventilated by natural convection. Be sure to leave
enough spaces (10 cm or more) around it when installing it.
5. When carrying the microscope, hold it by the bottom of the base 1 and
finger hook on the rear 2 as shown on the left and carry carefully.
# To prevent damage, do not hold the microscope by the stage or
observation tube. Before carrying, remove the specimen and filters
to prevent them from dropping.
# If the microscope is displaced by sliding on the desktop, the rubber
feet may be damaged or separated from the bottom.
