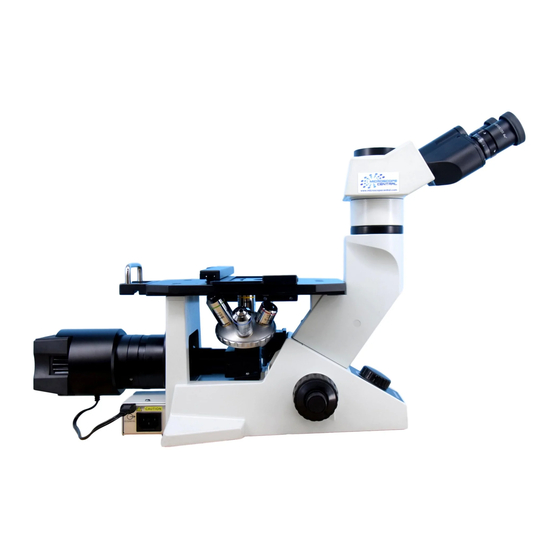
Olympus GX41 Manuale di istruzioni - Pagina 15
Sfoglia online o scarica il pdf Manuale di istruzioni per Microscope Olympus GX41. Olympus GX41 32. Compact inverted metallurgical microscope

Fig. 16
WHB10X-H
Fig. 17
4
Using the Eyepiece Micrometer Disk
1
}When using the WHN10X-H (or WHN10X) eyepieces, an eyepiece micrometer
disk can be inserted in one of them.
However, if the eyepiece does not offer the helicoidal adjustment facility,
2
observers with poor eyesight are recommended to wear eyeglasses be-
cause they cannot focus the eye on the micrometer disk.
Use an eyepiece micrometer disk with a diameter of 24 mm and thick-
WHN10X-H
ness of 1.5 mm.
Following Fig. 16, unscrew the micrometer-mounting frame 2 built into
the eyepiece from the eyepiece and place a micrometer disk 1 into the
mounting frame. The engraving on the eyepiece micrometer disk should
face downward in the micrometer-mounting frame.
Screw the micrometer-mounting frame back into the eyepiece.
}When the WHB10X-H (or WHB10X) eyepieces are used, an eyepiece
micrometer disk with a diameter of 20.4 mm and thickness of 1 mm can
4
be inserted in one of them using the 20.4RH reticle holders 3 (2-piece
set). (Fig. 17)
However, if the eyepiece does not offer the helicoidal adjustment facility,
3
observers with poor eyesight are recommended to wear eyeglasses be-
cause they cannot focus the eye on the micrometer disk.
When the reticle holders are used, the field number becomes 19.5. How-
5
ever, when the U-CTBI eyepieces are used, the field number does not
change because the original field number of these eyepieces is 18.
1. Remove both eyepieces. (When using the U-CTBI, remove only the right
eyepiece by loosening the clamping screw with a small flat-head screw-
driver.)
2. Place an eyepiece micrometer disk 4 in one of the reticle holders 3 so
that the engraving on the eyepiece micrometer disk faces downward.
3. Screw the reticle holder 3 containing the eyepiece micrometer disk 4
into the bottom of the eyepiece.
At the end of screwing, turn the reticle holder by hooking your nail on its
notch 5 to screw it all the way in.
4. To provide the other eyepiece with the same field number, screw in the
other reticle holder, without eyepiece micrometer disk, into the bottom of
the other eyepiece.
5. Attach the eyepieces to the original positions.
GX41
(Figs. 16 & 17)
11
