Olympus U-RFL-T Manuale di istruzioni - Pagina 7
Sfoglia online o scarica il pdf Manuale di istruzioni per Microscope Olympus U-RFL-T. Olympus U-RFL-T 16.
Anche per Olympus U-RFL-T: Manuale di istruzioni (36 pagine), Manuale di istruzioni (16 pagine)
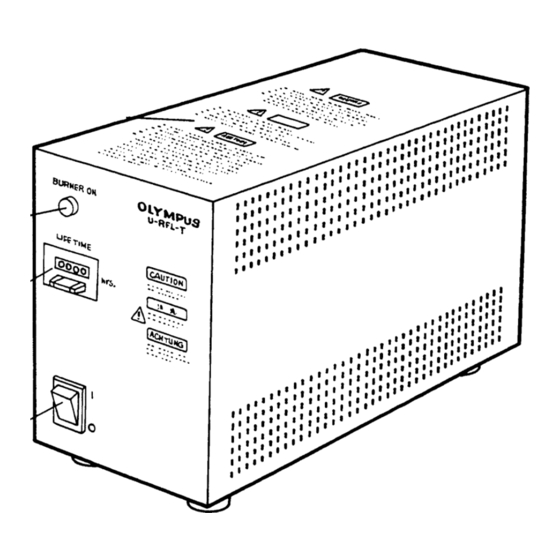
- 1. Power Supply Unit
- 1. 1 Nomenclature
- 2. Safety Precautions
- 2. 2 Assembly
- 2. Assembly Diagram
- 2. Mounting the Mercury Burner
- 2. Cable and Cord Connections
- 3. Table of Contents
- 3. 3 Preparation for Observation
- 3. Igniting the Mercury Burner
- 3. Centering the Mercury Burner
- 4. 4 Specifications
- 5. 5 Troubleshooting Guide
- 5. Proper Selection of the Power Supply Cord
2-2 Mounting the Mercury Burner
High voltage is applied to ignite the mercury burner, to prevent any hazards, conform that the main switch on
the power supply unit is switched to "O" (OFF), unplug the lamp housing cord and power cord plug, and wait
at least 10 minutes before proceeding with the replacement.
Fig. 1
Fig. 2
Fig. 3
Fig. 4
When using the lamp housing U-ULH
1. Using the Allen screwdriver provided with the microscope frame, loosen
the burner socket clamping screw @. (Fig. 1)
2. Loosen the burner clamping screws ³ and | and remove the transport
post. (For burner replacement, remove the used burner.) (Fig. 2)
3. Insert the + pole of the mercury burner ² into the + terminal and tighten
the + clamping screw ³.
Then loosen the – clamping screw | (marked UP). Insert the – pole of
the burner into the – terminal and tighten the – clamping screw |. (Fig. 2)
Be sure to use a USH102D burner (mfd. by Ushio Electric) or
HBO103W/2 (mfd. by OSRAM).
Be careful and avoid leaving fingerprints or dirt on the mercury
burner. Attached stain may cause distortion in glass which could
result in a ruptured burner. If the burner is contaminated, clean it
by wiping gently with gauze slightly moistened with absolute
alcohol.
# To prevent possible damage to the burner, the collector lens can
only be installed or removed while the socket and lamp housing
are separated.
When using the 100W lamp housing U-LH100HG/LH100HGAPO
1. Loosen the burner socket clamping screw @ using the Allen screwdriver.
(Fig. 3)
2. While holding the upper part of the lamp housing, pull it vertically to
remove the socket.
# Do not hold the centering knob ². Doing so may use malfunction.
3. Place the socket upside down as shown in Fig. 4.
} Loosen the two burner clamping screws ³ to remove the transport lock
when using the unit for the first time or to remove the old burner when
replacing with a new one. (Fig. 4)
4. Securely attach the + pole of the specified mercury burner | to the upper
mount and the – pole to the lower mount. (Fig. 4)
Be sure to use a USH102D burner (mfd. by Ushio Electric) or
HBO103W/2 (mfd. by OSRAM).
Be careful and avoid leaving fingerprints or dirt on the mercury
burner. Attached stain may cause distortion in glass which could
result in a ruptured burner. If the burner is contaminated, clean it
by wiping gently with gauze slightly moistened with absolute
alcohol.
5. Replace the socket with the burner mounted and tighten the burner
socket clamping screw @.
} While aligning the exterior of the lamp housing with that of the socket, let
down the lamp housing vertically until it fits over the socket.
} For details on mounting the collector lens unit and the lamp housing on
the microscope frame, refer to the instruction manuals for the reflected
light fluorescence modules for the AX, BX, BX2, IX, etc., microscope
frames, respectively.
U-RFL-T
2