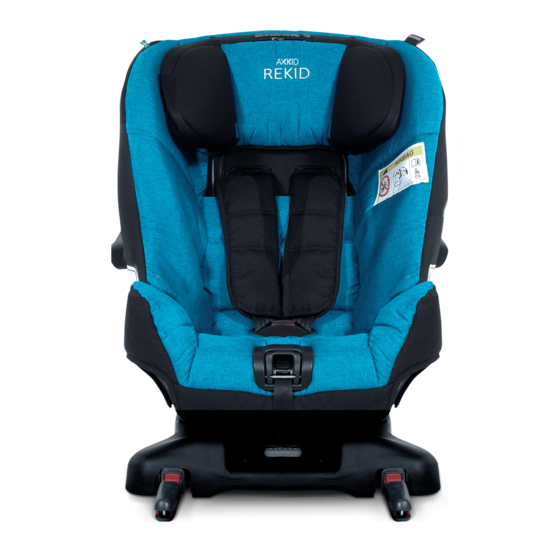
Axkid Rekid Manuale di istruzioni - Pagina 12
Sfoglia online o scarica il pdf Manuale di istruzioni per Seggiolino auto Axkid Rekid. Axkid Rekid 16.

12
Adjustment Lever (2) to select one of the three
reclining positions. Always choose the most up-
right angle as possible, but there should be enough
recline to ensure your child's head does not fall
forward when sleeping. The rule of thumb is that
the older the child grows, the more upright the
seat can be installed. Bear in mind that once the
installation of the Rekid is complete, it will be
somewhat more reclined as it sinks into the ve-
hicle's seat from tightening seat belts and tether
straps.
Fastening the vehicle seat belt
Open the lock-offs (3) on both sides of the
Rekid child restraint. Fully lengthen the seat belt
until the lap section of the belt is at least 70-80
cm (27-32 inches) long. Feed the seat belt be-
tween the seat cover and seat body through the
seat belt slot (4) until the belt comes out through
the opening on the other side. If you prefer, you
can instead feed the seat belt over the top of the
seat belt cover. Engage into the vehicle's seat belt
buckle. Pull seat belt until all slack is removed
along the seat belt route. Then secure both the
lap and shoulder belt in the lock-off closest to the
vehicle's seat belt buckle. In the lock-off on the
opposite side, only the lap belt should be secured.
Attaching the lower tether straps
Some vehicles may already be fitted with an-
chorage points at the base of the front seat rails,
or, if installing in the front passenger seat, in front
of that seat. If your vehicle does not have these
anchor points, the supplied lower tether straps
must be used to, see pages 7-8 for example. For
installation in the back seat, feed the buckle end
of the tether strap through either the rear of the
front seat rails, or the hinge of the front seat. The
Continued on next page
2
4
3
Lower tether straps
