Olympus ARROW POINTER Manuale di istruzioni - Pagina 10
Sfoglia online o scarica il pdf Manuale di istruzioni per Apparecchiature di laboratorio Olympus ARROW POINTER. Olympus ARROW POINTER 20. Arrow pointer

2-2 Pointer Operation
@
Fig. 3
@
Fig. 4
7
1
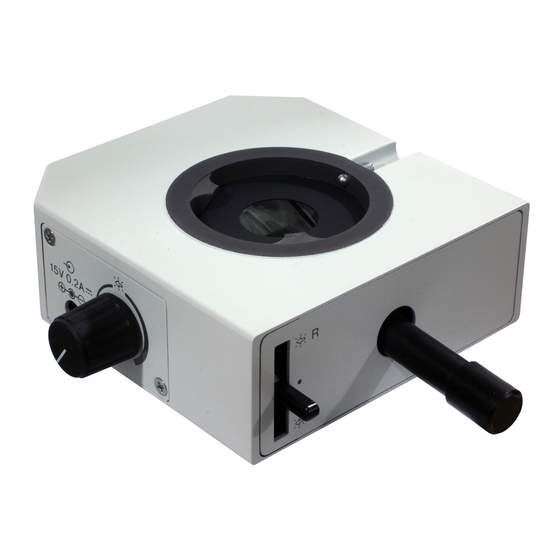
Adjusting the Pointer Brightness
}Light intensity alignment range of the pointer has been set to comply with
a dark specimen, such as the case of fluorescence observation. For this
reason, in case of brightfield observation with high light illumination, you
may feel it difficult to identify the pointer even by rotating the pointer bright-
ness control dial which is not defect of this product.
1. While looking into the eyepiece, turn the pointer brightness control @
clockwise to vary the brightness continuously.
²
2. Turning the control to the fully counterclockwise position switches it off.
2
Selecting the Pointer Color
Using the pointer color switching lever ² select a color which is clearly
distinguishable from the specimen color.
· Top position: Red
· Middle position: Light shielded.
· Down position: Green
3
Moving the Pointer
Move the pointer to the desired location in the field of view by operating
the pointer control lever @ on the front of the arrow pointer.
}When the pointer is not used, move it away from the field of view or set the
pointer color switching lever to the middle position.
(Fig. 3)
(Fig. 3)
(Fig. 4)
