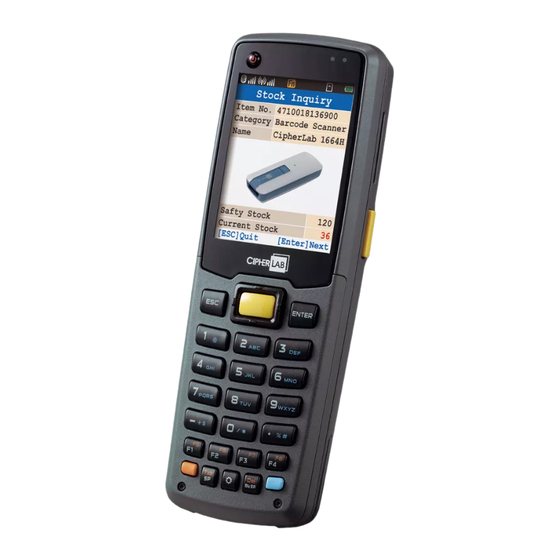
CipherLab 8600 Manuale di avvio rapido
Sfoglia online o scarica il pdf Manuale di avvio rapido per Palmari CipherLab 8600. CipherLab 8600 2.

8600 Mobile Computer
Quick Start Guide
Download the user manual and CD contents using GoBetween, available at
http://ccs.cipherlab.com
.
Die Bedienungsanleitung, so wie die CD-Inhalte können via GoBetween herunter
geladen werden unter
http://ccs.cipherlab.com
.
Open Your Box
a8600 Mobile Computer
a
8600 Mobilcomputer
a
a
Rechargeable Li-ion battery pack
Li-Ionen Akku
a
a
Wristband
Handschlaufe
a
a
Snap-on cable
Snap-on Kabel
a
a
Power adaptor
Netzteil
a
a
Quick Start Guide
Kurzanleitung
Important Information
Power Supply
5V/4A output, CipherLab approved
Battery Pack
3.7V, 1100/2200 mAh Li-ion, CipherLab proprietary
(
1100mAh
)
Charging Time
Approx. 3 hours
(
2200mAh
)
Approx. 4 hours
Wichtige Informationen
Netzteil
5V/4A, CipherLab zertifiziert
/2200
Akku
3,7V 1100
mAh Li-Ionen, CipherLab proprietär
(
1100mAh
)
Ladezeit
Ca. 3 Stunden
(
2200mAh
)
Ca. 4 Stunden
www.cipherlab.com
>
EN
DE
Insert microSD Card
Step 1:
Slide the battery cover latch to unlock. Remove battery cover.
Akkufachdeckel entriegeln und entfernen.
Step 2:
Insert microSD card.
Speicherkarte einsetzen.
Unlock
Lock
Insert Battery
Step 3:
Insert battery.
Akku einsetzen.
Step 4:
Replace battery cover. Slide the battery cover latch to lock.
Akkufachdeckel aufsetzen und verriegeln.
>>
EN
DE
Attach Wristband
Step 5: Locate the wristband hooks at the bottom left/right corner inside the battery cover.
Fit the thin loop of the wristband around the hook and then pull the wristband aside
to get through the hole of the battery cover.
In dem Akkufachdeckel unten rechts und links befinden sich die Haken für die
Befestigung der Handschlaufe. Legen sie die dünne Schlaufe um den Haken und
ziehen sie die Handschlaufe zur Seite durch die Aussparung des Deckels.
2
Charging and Communications
Step 6:
Slide the mobile computer into the snap-on holder until a click is heard.
Then slide the side latches upwards to secure the mobile computer firmly. ( )
(be sure to slide the latches downwards before removing the device)
Connect to power for charging(
and turns flashing green when charging is done.
Schieben sie den mobilen Computer in der Snap-On Halter bis es „Klick" macht.
Danach sichern sie den mobilen Computer, indem sie die seitlichen Verschlussriegel
nach oben schieben( ). (Zum Öffnen die Verschlussriegel nach unten schieben.)
Für Akkuladung Netzteil anschließen(
Ladevorgangs und grün wenn der Ladevorgang abgeschlossen ist.
Step 7:
Connect to PC for data communications.
Für Datenübertragung an PC anschließen.
EN
DE
). The left LED is flashing red while charging,
). Die linke LED blinkt rot während des
