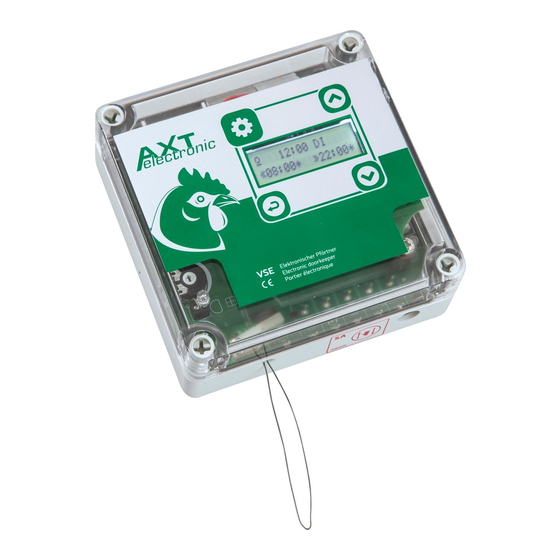
AXT ELECTRONIC VSE Manuale di installazione - Pagina 6
Sfoglia online o scarica il pdf Manuale di installazione per Macchine agricole AXT ELECTRONIC VSE. AXT ELECTRONIC VSE 10. Electronic doorkeeper

Battery Change
The VSE shows you in the display or via the LED the necessity of a battery change. To change the battery, the timer module must be removed. To do this, loosen
ONLY the left fastening screw of the module and carefully pull the module upwards on the right side. If necessary, remove the brown transport lock over the
batteries (this does not necessarily have to be reinstalled later). Replace the batteries. Return the timer module back onto the middle of the contacts (the two
outer contacts on the module remain free, make sure that the two white markings on the contacts fit on top of each other). As soon as the module is seated
on the plug contact, it will restart and you will see various status messages. Refasten the left side of the module with the previously removed screw . Replace
the cover onto the VSE and check the settings in the menu. (The timer module maintains the time for approx. 15 minutes without power supply. Your settings
are retained even if the battery change take longer. In this case, however, the device loses the current time. Use the status display to check whether the time
has been retained. If not, simply reset the time in the 1st menu item).
Battery Disposal
Do not dispose the batteries in the household waste, but
bring them please to the public or from private places
pursued disposal places (appropriate boxes in supermar-
kets or similar.) All indicated battery running times refer
to the operation with our sliders (weight between 300g
and 1kg).
Disclaimer
Electronic devices can fail for various reasons. The usage
of our devices does not release you from the obligation
to regularly check and monitor the welfare of the animals
and the function of the device. We accept no liability for
damage and consequential damage resulting from incor-
rect installation/operation or defects in the equipment.
Safety instructions
Power supply dry room - The plug power supply is de-
signed for dry rooms. Please place it dry and under nor-
mal room conditions (humidity). If you need a power
supply unit for humid rooms or outside, please contact
us. We may have some in stock.
IP class housing - the housing necessarily loses the IP66
class, because holes in the housing are necessary (cord).
However, condensation can escape better through the
openings if the unit is correctly installed. This also ensures
better rear ventilation. Cable glands and strain reliefs on
the VSD/E are not prescribed or necessary by us, but can
be implemented by customers using cable ties or knots
in the cable, if necessary.
Risk of injury during manual intervention - Any manual
intervention in the mechanics of the device or the slider
attached to it represents a risk of injury. We are not liable
for any damage resulting therefrom. Make sure that the
system is voltage-free when interventions are made or
when you touch moving parts.
Submissions due to repairs
Devices under warranty will be repaired by us free of
charge and returned if the defect falls under the warranty
conditions. (Excluded from warranty repairs are devices
for which the customer has already carried out interven-
tions (soldering, paint removal, etc.) without prior agree-
ment. These devices will be repaired at the customer's
expense.)
Devices outside the warranty will be repaired and re-
turned at the customer's expense. The repair costs de-
pend on the founded error and the countermeasure tak-
en, but never as high as a new purchase.
Sequence of a submission for repair:
1. You cannot resolve the error using the table.
2. Contact us if you are not sure what to send. If possible,
send pictures of the devices in advance by e-mail
(cover open + assembly with door).
3 We usually need the devices + accessories such as
external sensors or the timer together for repair.
4. We do not need the aluminum door with us!
5. Remove the devices from the installation site. Remove
the fixing screws for the wall.
6. Clean the devices (blow them out with compressed
air, remove heavy impurities on/inside the housing,
etc.). Check that no mites are present in the device.
7. Pack the devices, power supply (battery holder, batter-
ies, power supply unit), + further accessories (timers,
ext. cable extensions) safely in a package.
8. Put in a note with error description as well as your
contact data and remarks. This speeds up the repair.
9. Send the devices to:
AXT-Electronic GmbH & Co. KG
-Repair-
Wartburgstraße 10
D-99817 Eisenach, Germany
10. If we indicate that only the printed circuit board is
to be sent in, it is also sufficient to send the printed
AXT-electronic GmbH & Co. KG
Wartburgstrasse 10
99817 Eisenach / GERMANY
Phone: 0049 3691 721070
www.axt-electronic.de
circuit board in a padded envelope and as a letter.
11. The repair will usually not take longer than 4 days.
The transport time to us and back to you, can hardly
be influenced by us.
12. For submissions from Switzerland or USA: Please
contact us in advance. There are points that have to
be considered during customs processing and should
be discussed with us. Otherwise deliveries can be
delayed considerably.
