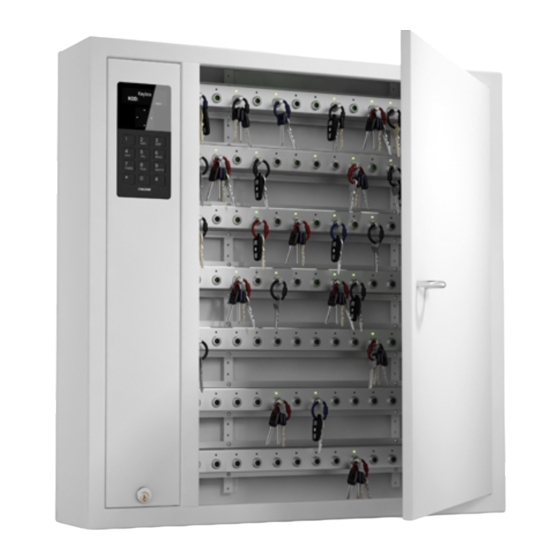
Creone KeEYBOX KEYRACK KEYWIN5 Manuale di installazione - Pagina 11
Sfoglia online o scarica il pdf Manuale di installazione per Serrature Creone KeEYBOX KEYRACK KEYWIN5. Creone KeEYBOX KEYRACK KEYWIN5 19.

Configuration menu
Follow the instructions below to set the correct settings for your
cabinet: Enter 1234# (default) on the keypad to access the con-
figuration menu of the cabinet. This is the menu that allows you
to configure your cabinet settings. You navigate through the menu
STEP 1
Here you can give the cabinet a specific name. Note that this can
easily be modified from the KeyWin software at a later time.
STEP 2
Here you can give the cabinet a specific location, e.g. Office,
Factory etc. Note that this can easily be modified from the KeyWin
software at a later time.
STEP 3*
Here you first enter how many doors you have, confirming with #,
then how many strips you have in each door, confirming with #.
STEP 4
Here you can change the language in the cabinet. Available langu-
ages are Swedish, German, English and Russian. Please note that
the configuration menu is always in English.
STEP 5
Here the administrator can change a user's PIN code. Enter the
valid PIN, confirming with #. Enter the new PIN and confirm with #.
Confirm the new PIN and press #.
STEP 6
Here you can activate an external unit such as an alcoreader, card
reader etc. When activating this function, the main window of the
display will be changed to LOCKED. To enter the cabinet users now
need to be authorised first via the external unit. For more informa-
tion, see the wiring diagram on page 18 of these instructions.
STEP 7
If your cabinet is equipped with an RFID reader, you must specify
the correct unit in this menu. Use the up and down arrows to find
the correct reader, and confirm the reader using #. To install your
RFID reader, see the wiring diagram on page 17 in these instruc-
tions.
KeyWin 5 manual, Version 1.0.0. All and copyright reserved by Creone AB
using the arrows on the keypad. Confirm using #, and cancel using
*. To erase characters, use the left arrow, and use the right arrow to
move forward. Steps marked with * are essential for your system
to work.
11
