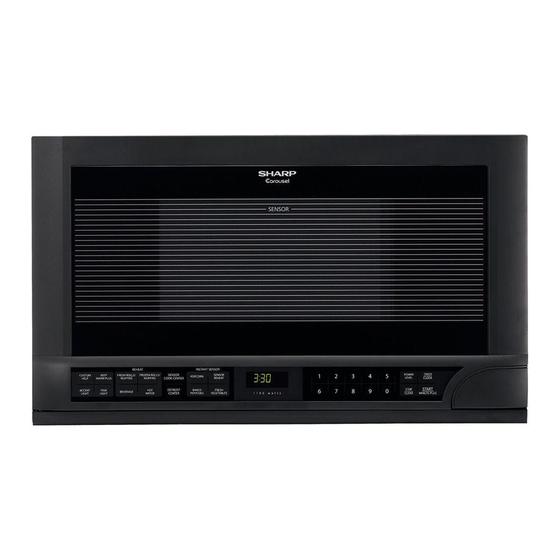
Sharp Carousel R-1211 Manuale di servizio - Pagina 25
Sfoglia online o scarica il pdf Manuale di servizio per Forno a microonde Sharp Carousel R-1211. Sharp Carousel R-1211 36. Over the counter microwave oven
Anche per Sharp Carousel R-1211: Opuscolo e specifiche (8 pagine), Manuale d'uso e istruzioni per l'installazione (32 pagine), Manuale d'uso e istruzioni per l'installazione (32 pagine)
Note: As the engaging part of choke cover and door frame
are provided at 15 places, do not force any particular
part.
CHOKE COVER
6. Insert a putty knife (thickness of about 0.5mm) into the
gap between the choke cover and door frame as shown
Figure C-4 to free engaging parts.
7. Pry the choke cover by inserting a putty knife in order
shown in Figure C-4.
8. Now choke cover is free from door panel and door frame.
NOTE: When carrying out any repair to the door, do not
bend or warp the slit choke (tabs on the door
panel assembly) to prevent microwave leakage.
DOOR FRAME ASSEMBLY
9. Remove four (4) screws holding the door panel to the
door frame assembly.
10.Release the door panel from the door frame assembly.
NOTE: It is easier to release the engaging parts of the upper
or lower door hinge pin side at first.
11.Now, door frame assembly is free.
LATCH SPRING, LATCH HEAD AND DOOR PANEL
12.Release the latch spring from the tab of the latch head
and tab of the door frame.
13.Release the latch head from the door frame.
14.Now, the latch spring and latch head are free.
A
Choke cover
Figure C-4. Door Disassembly
LSI UNIT
9. Remove the two (2) screws holding the PWB cover to
the door frame assembly.
10.Remove the PWB cover from the door frame assembly.
11.Disconnect the ribbon cable of the key unit from the LSI
unit.
12.Releasing the two (2) lower tabs, remove the LSI unit
with the LCD holder from the door frame assembly.
13.Disconnect the 11-pin wire harness from the LSI unit.
14.Releasing the two (2) tabs, release the LCD from the
LCD holder.
Upper door stopper
Lower
door stopper
Putty knife
Door frame
15.Releasing the four (4) tabs, remove the LCD holder from
the LSI unit.
16.Now the LSI unit is free.
NOTE: For 11-pin wire harness
1. When the PWB cover is reinstalled, route the 11-pin
wire harness under the hole of the PWB cover as
shown in Figure C-5.
2. Before the door panel is reinstalled to the door frame
assembly, make sure that the 11-pin wire harness is
held by the two (2) tabs and one (1) hole on the door
frame as shown in Figure C-5. And the marking
portion on the 11-pin wire harness should be held by
right tab on the door frame as shown in Figure C-5.
Screws
PWB cover
Cushion
Hole
Tabs
LSI unit
Tab
Tab
Door frame
Figure C-5. Door frame assembly
NOTE: For key unit
1. Before attaching a new key unit, wipe off remaining
adhesive on the door frame surfaces completely with
a soft cloth soaked in alcohol.
2. When attaching the key unit to the door frame, adjust
the upper edge and left edge of the key unit to the
correct position of door frame.
3. Stick the key unit firmly to the door frame by rubbing
with soft cloth not to scratch.
NOTE: For LSI unit
Handle the LSI unit carefully so that the ribbon cable
does not come off. Because the ribbon cable is
glued on the LCD and the printed wiring board only
by heated paste.
Ribbon cable
Figure C-6. LSI unit
23
R-1210
R-1211
Marking
Tab
11-pin wire
11-pin wire
harness
harness
Tab
Tab
Hole